
Free Pattern: Father’s Day Card
Combine crochet with card making!

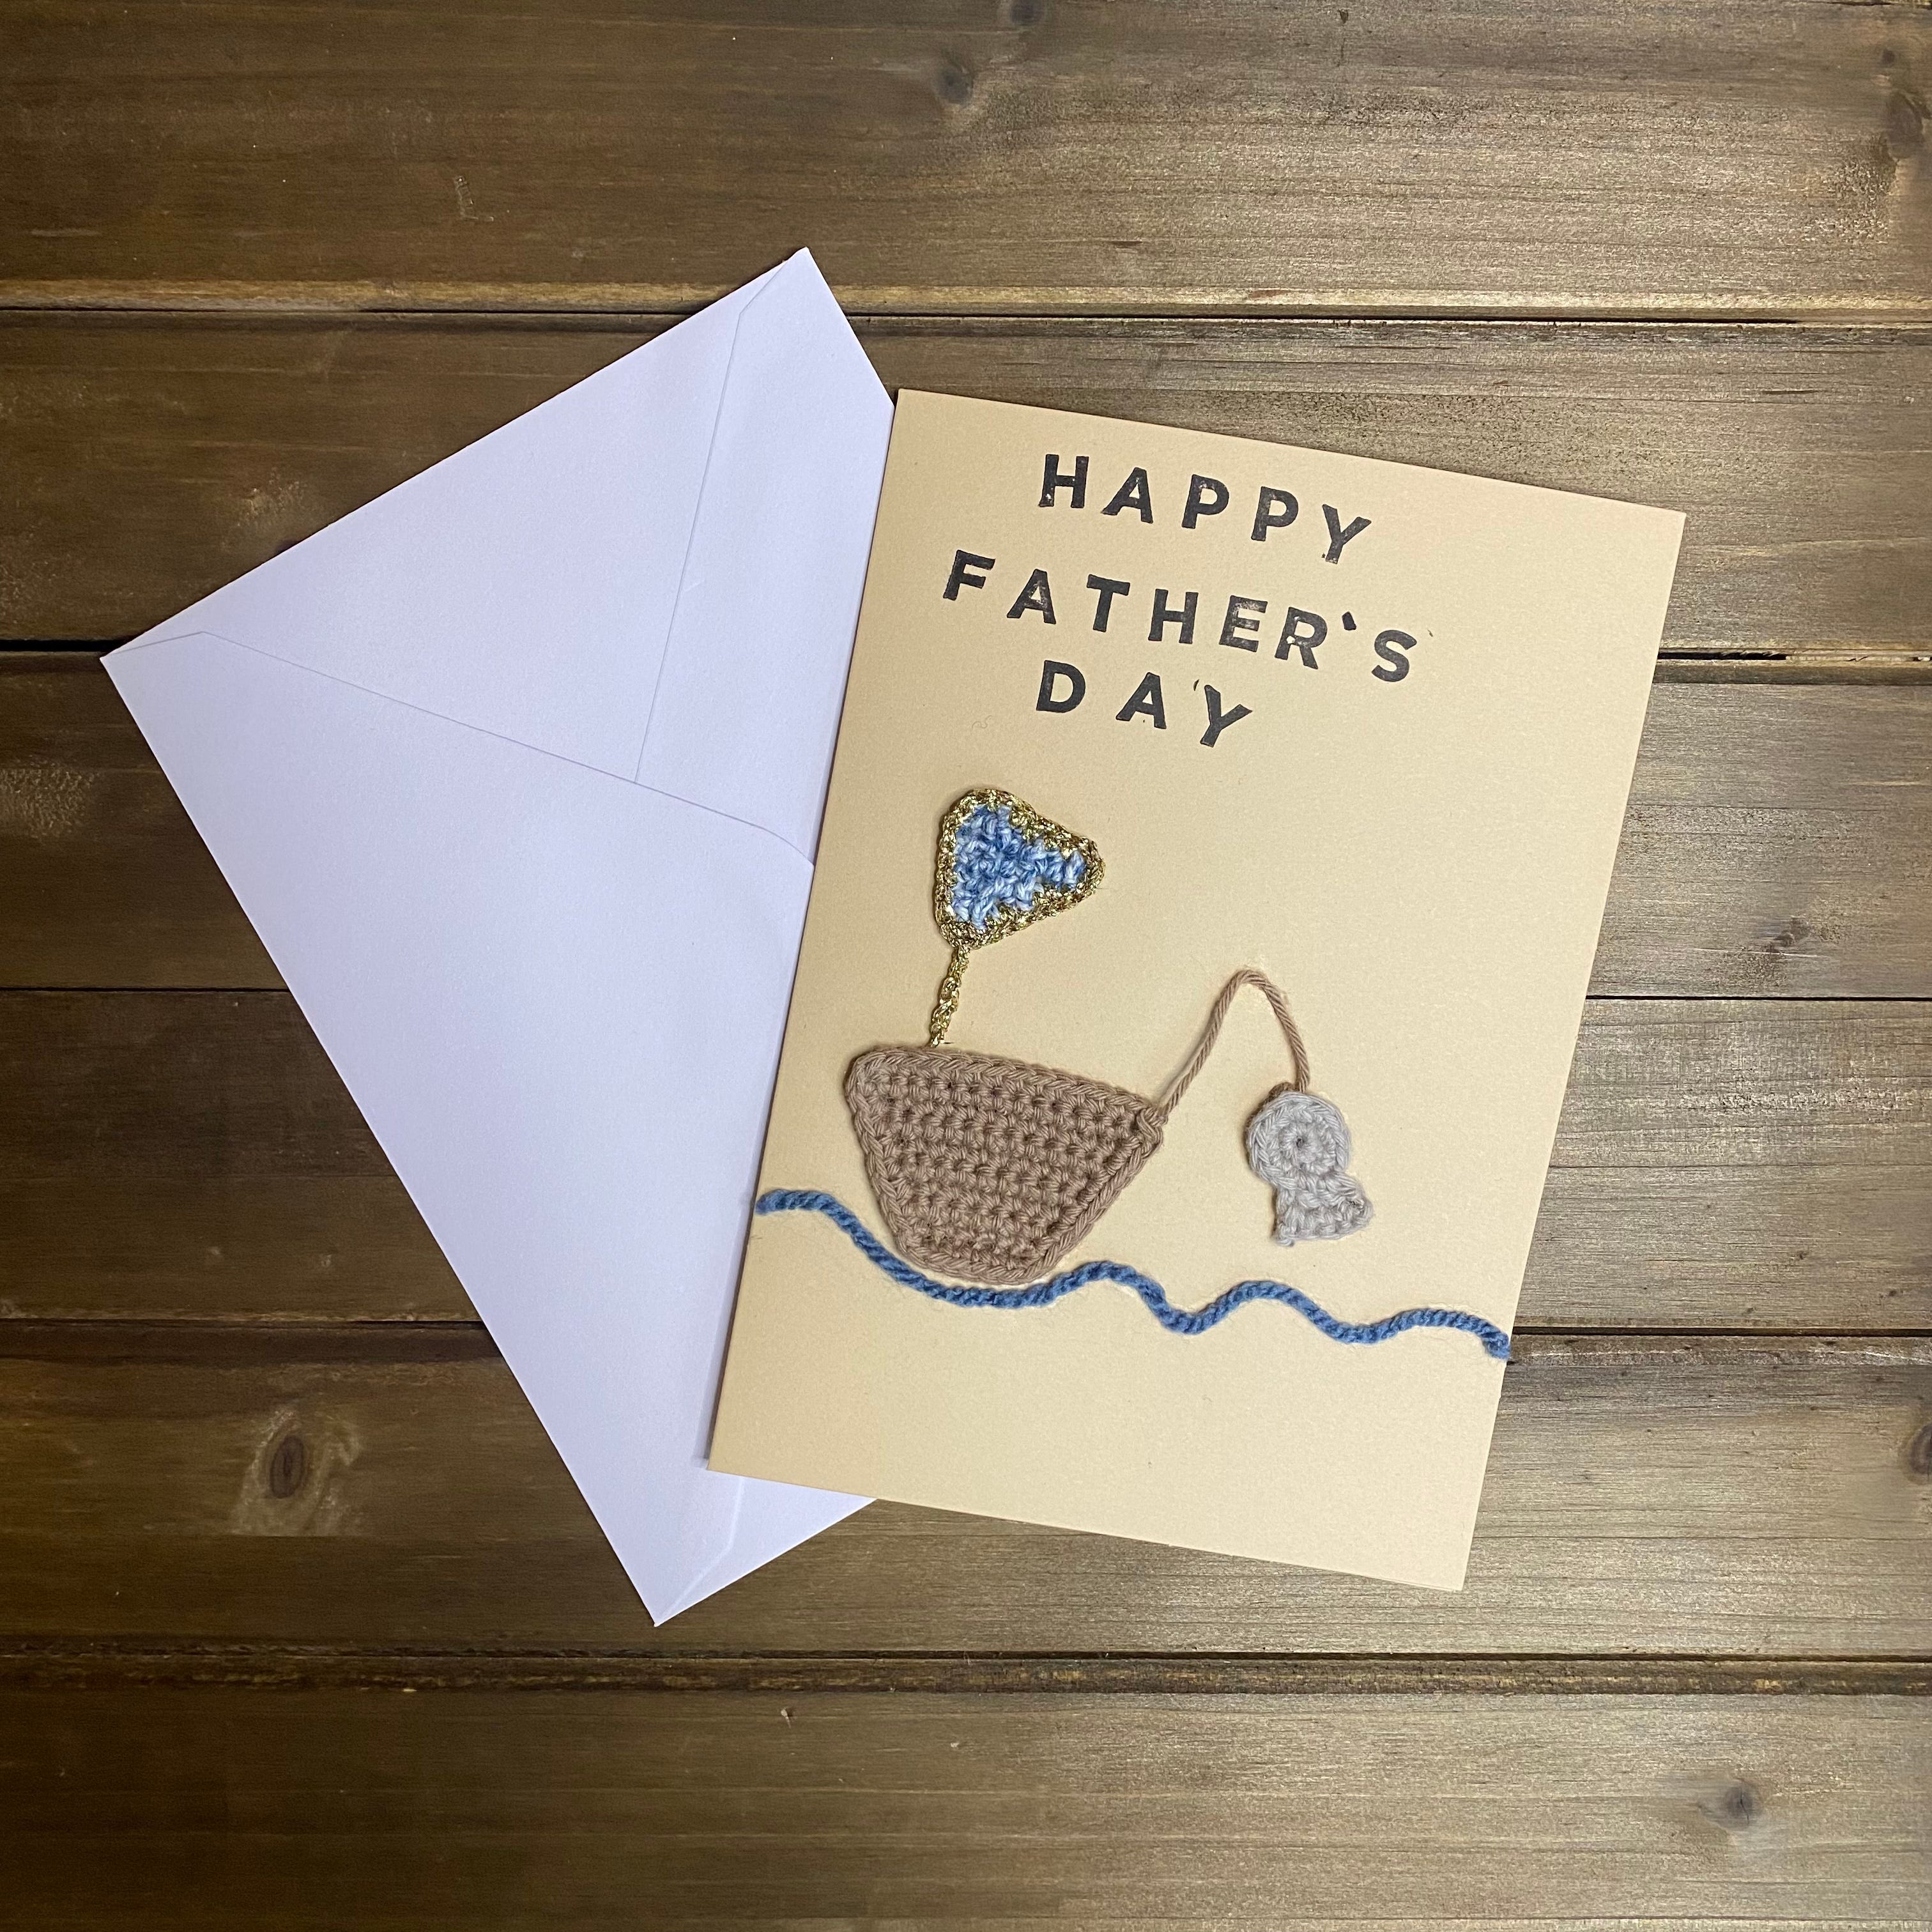
These instructions are for a Father’s Day card featuring fishing on a boat. If you’d prefer some other theme ideas, check out my knit/crochet card making article here.
This pattern is written using UK terminology.
You Will Need:
• yarn scraps in colours of your choice - the pieces in this pattern are very tiny and use really small amounts of yarn. So a good place to start is rummaging through your stash and scraps to see what shades you have to work with! For my card, I used scraps of Ricorumi DK but you can alter the yarn weight and adjust your hook accordingly
• 2.5-3mm hook (use a larger hook size if using a thicker yarn than DK)
• glue (any kind of glue should work but I would recommend using a liquid glue. You could even use super glue)
• a card base (available in most craft shops, you can also make your own by folding a piece of thick paper or card in half)
• optional: letter stamps (I used these to print a message on my card but you could also do hand lettering with a pen, or even cut the words out of magazines and stick them on the front)
Pattern
Boat:
With dk yarn and 2.75mm hook, cast on and ch7.
Row 1: starting in 2nd ch from the hook, dc across (6)
Row 2: ch1 and turn. 2dc in first st, dc until last st, 2dc (8)
Row 3: ch1 and turn. Dc across (8)
Row 4: ch1 and turn. 2dc, dc until last st, 2dc (10)
Row 5: ch1 and turn. Dc across (10)
Row 6 -9: repeat rows 4 and 5 twice more. (14)
Next you will add a dc border around the remaining 3 sides of the boat shape, putting 2dc in each corner that you turn. In the last corner, put 1dc and 1ss.
Fasten off, leaving a tail long enough to attach to the fish and create a fishing pole.
Flag:
With dk yarn and 2.75mm hook, cast on and ch 7.
Row 1: starting in 2nd ch from the hook, dc across (6)
Row 2: ch1 and turn. dc2tog, dc to last 2 stitches, dc2tog (4)
Row 3: ch1 and turn. Dc across (4)
Row 4: ch1 and turn. Dc2tog twice (2)
Row 5: ch1 and turn. Dc across (2)
Row 6: ch1 and turn. Dc2tog (1)
Fasten off.
Join a different colour yarn in bottom corner of flag where the flagpole will come out (for demonstration, look at the gold yarn on my flag).
Dc around the flag, putting 2dc in each corner.
At the end of dc border, join to first st with a ss.
Ch5 and fasten off, leaving a tail long enough to sew to the boat.
Fish:
With dk yarn and 2.75mm hook, make a magic ring.
Round 1: do 6dc into the ring, then close the ring (6)
Round 2: 2dc in each dc around (12)
Then, ch3 and 1tr in next st.
2tr in next st.
Ch1 and turn. Dc across top of tr sts, counting the 3ch as a tr.
Fasten off.
To Assemble:
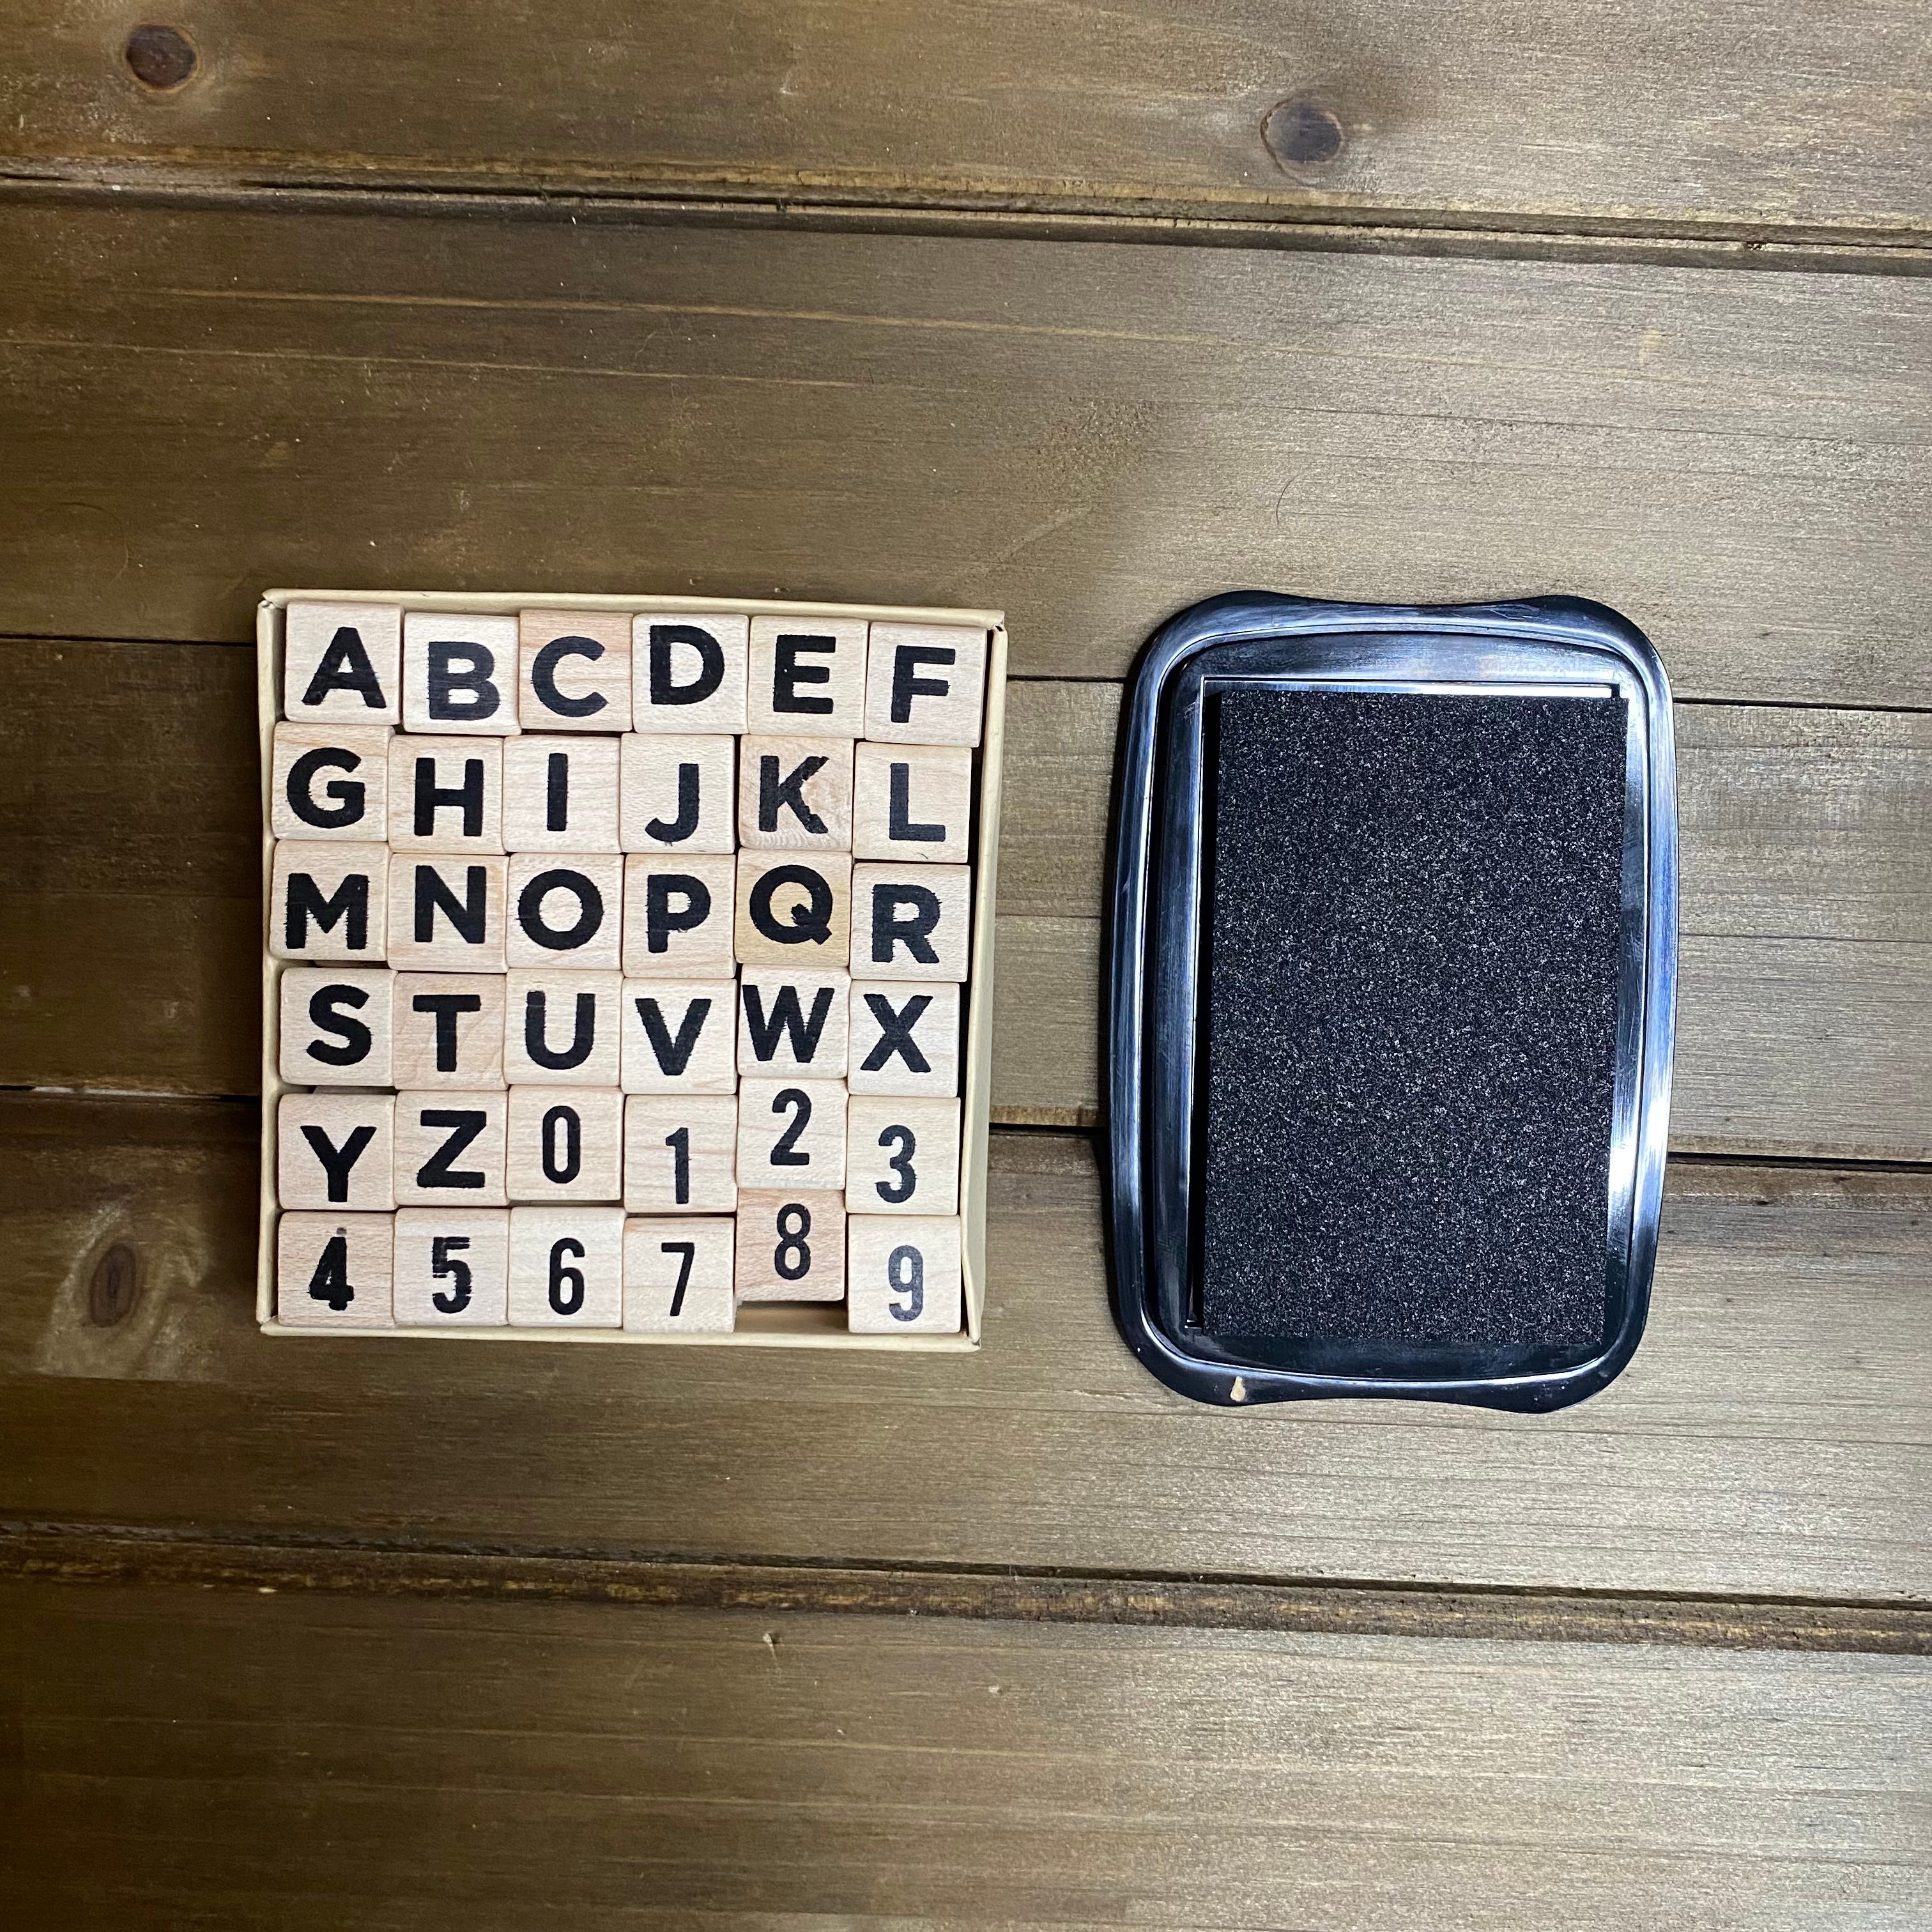
If you are adding lettering or a message to the front of your card, I would do this first so you can see how much space you have to create your fishing boat.
Sew in all ends apart from the fastening off tail of the boat piece, and the fastening off tail of the flag.
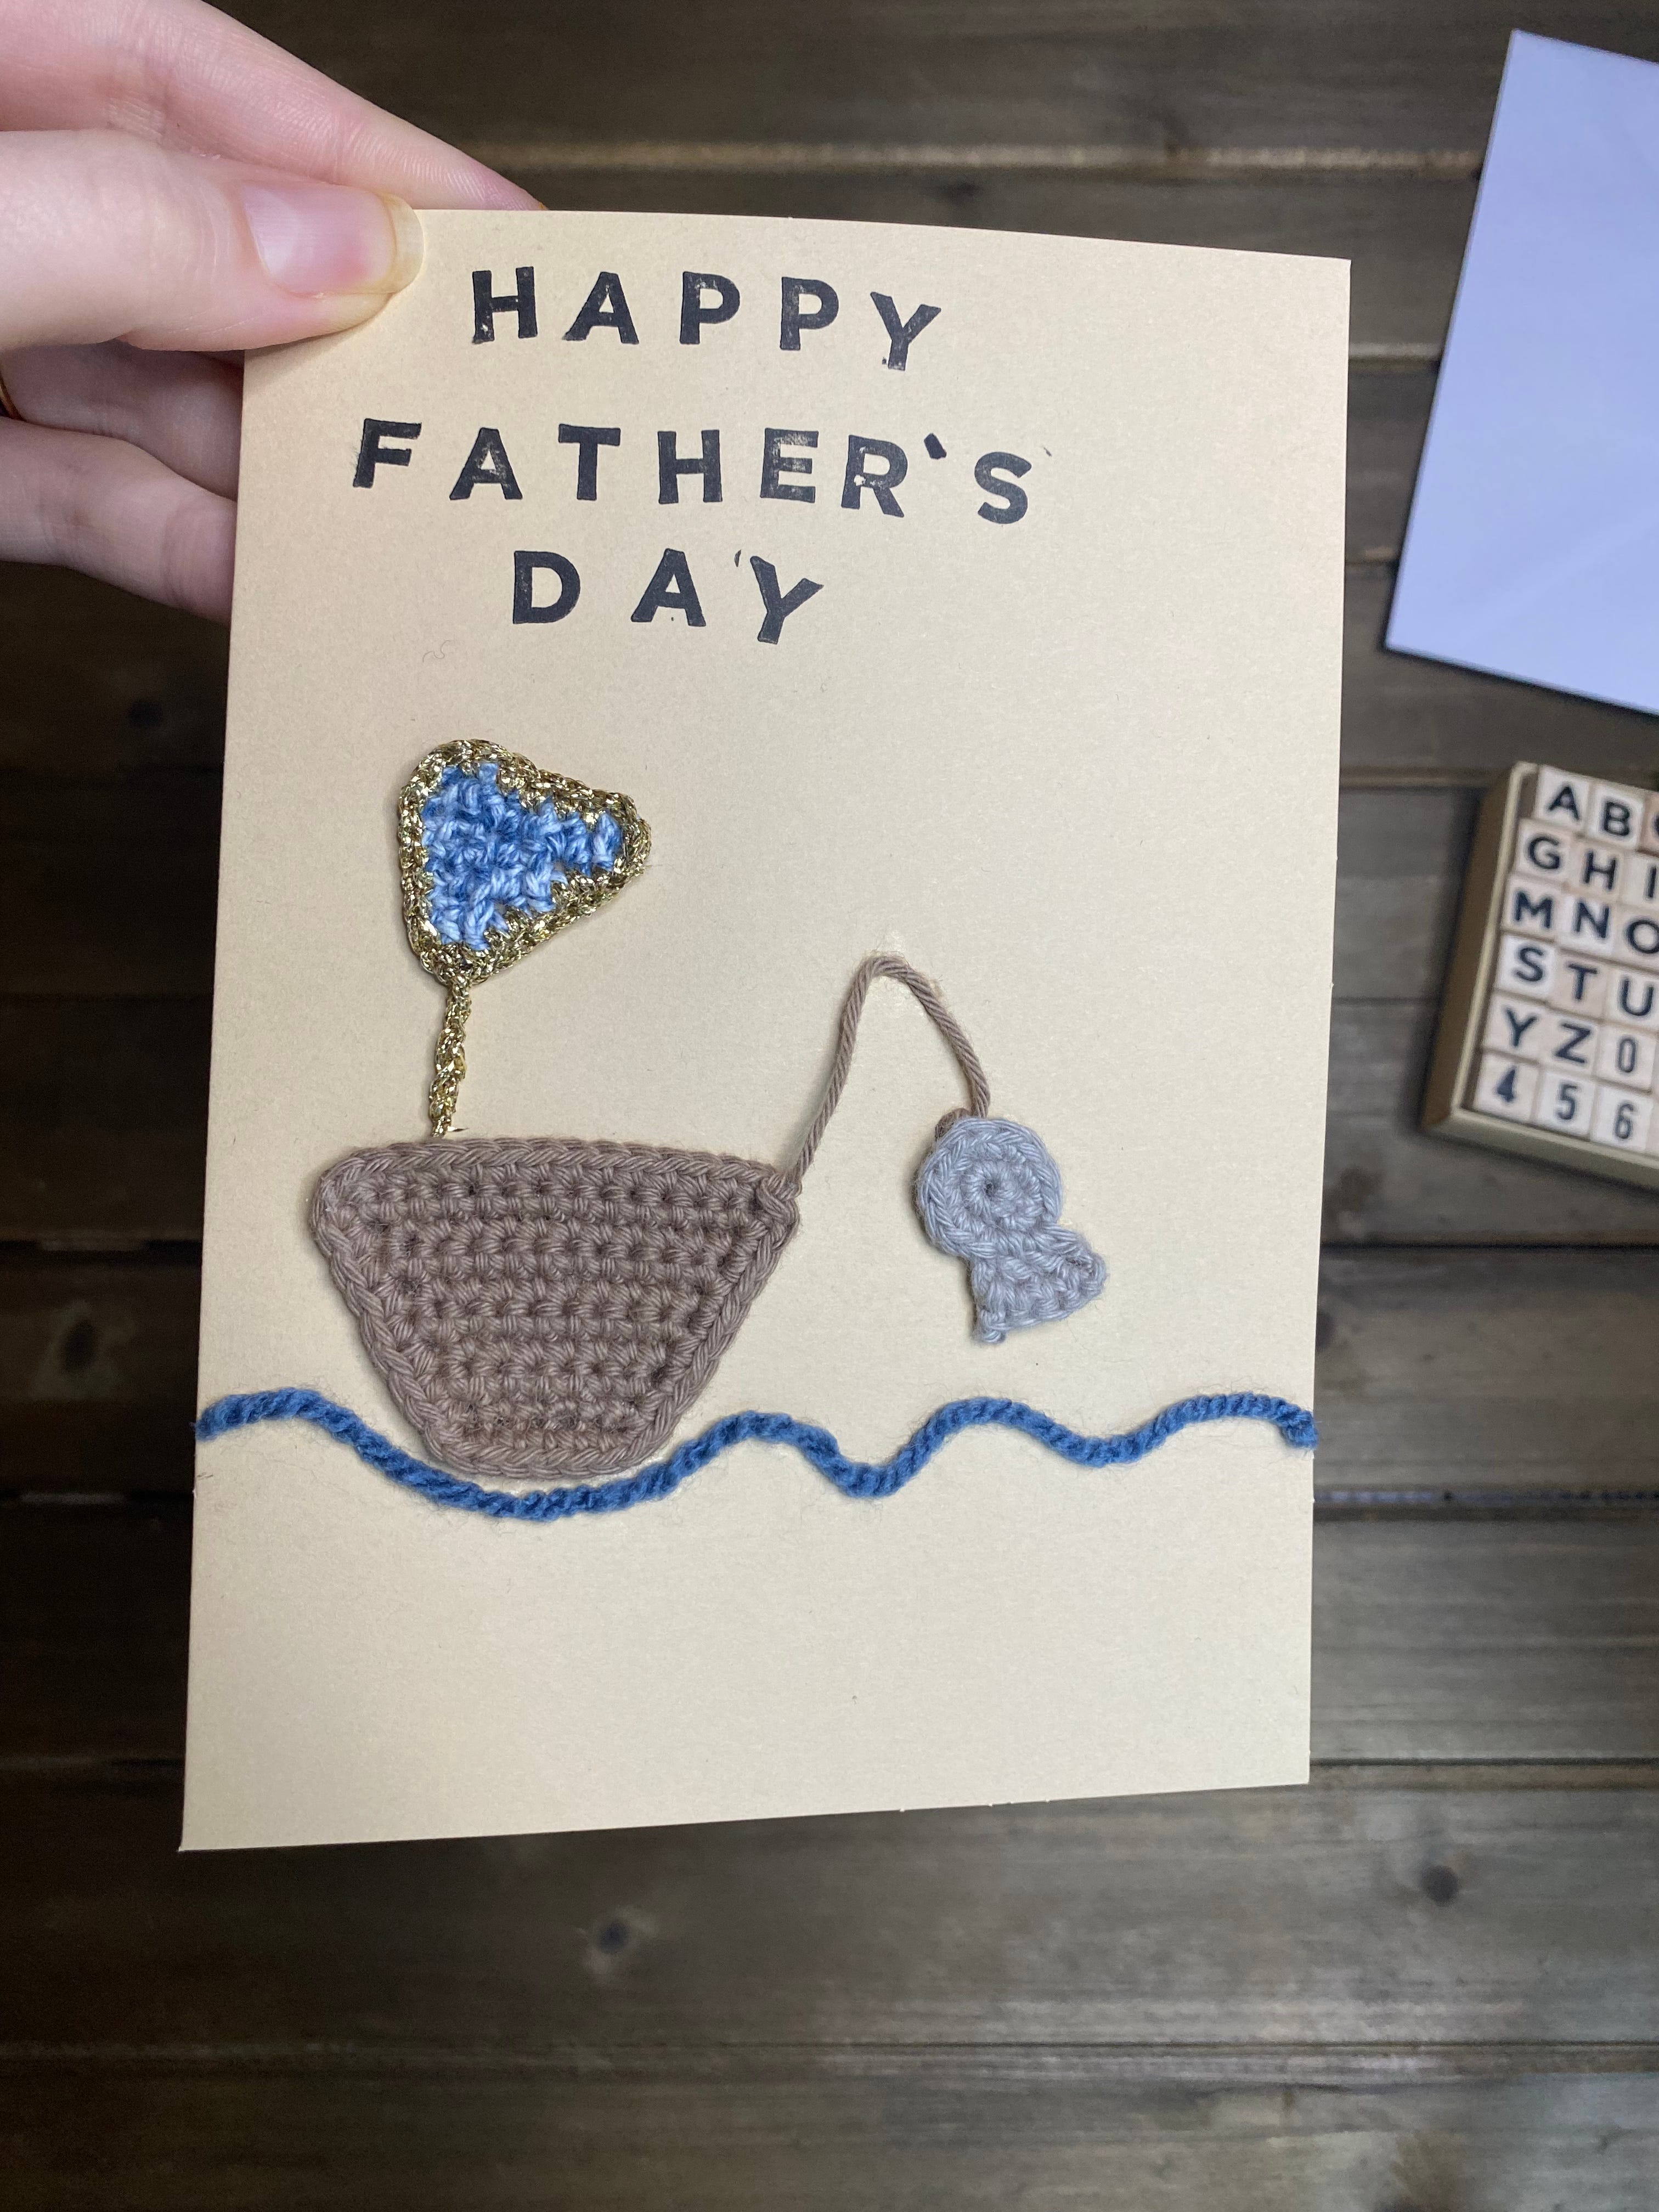
Attach the fish at the end of the boat yarn tail, You can either sew or sew just though the top and tie a couple of knots to secure it. Do the same with the flag yarn tail to attach it to the boat.
First, glue the boat shape to your card. When this is secure, glue the flag down, making sure it is pointing the correct way.
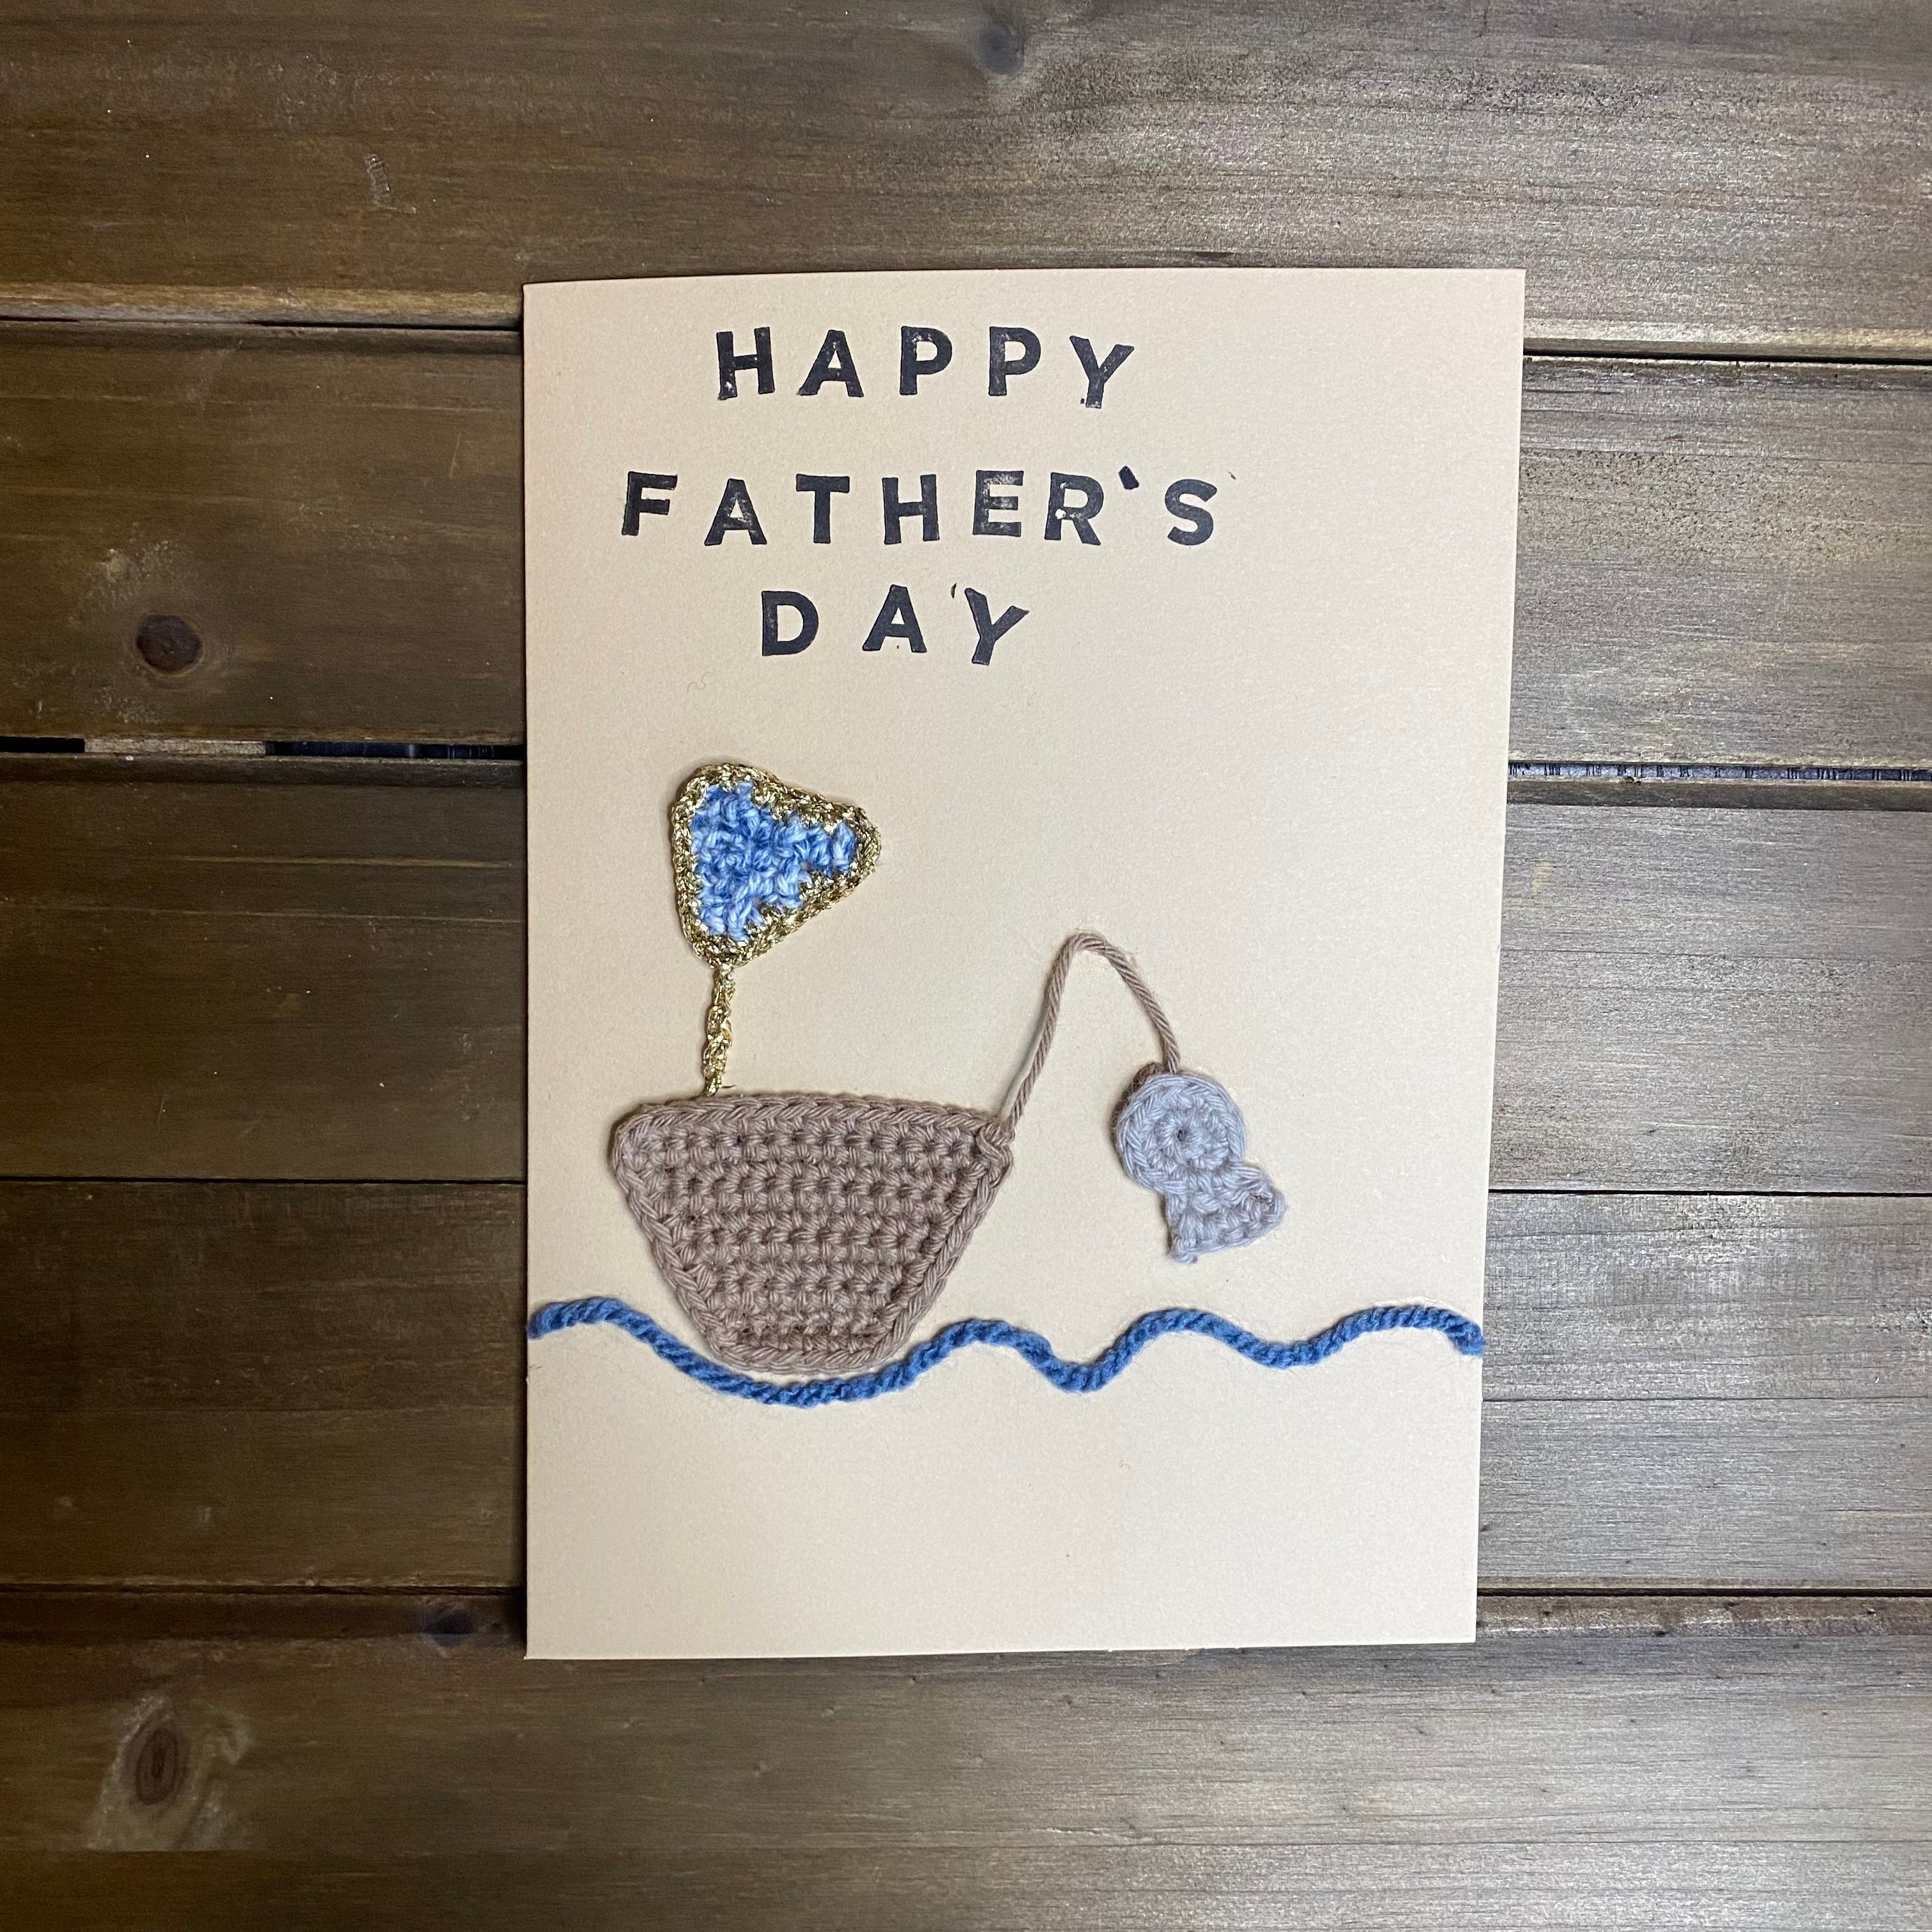
The yarn tail with the fish at the end will be bent to create a fishing pole. Start by glueing the fish down. Then, choose where the yarn tail will bend to create the fishing pole, put one blob of glue on this bend and stick down.
To add water beneath the boat, draw a thin wiggly line with glue under the boat. Then stick a scrap of blue yarn along this wiggly line, and trim the ends at each edge of the card.
You’re finished!
I hope you enjoyed this free pattern, and that it has given you an idea of how you can use knitting/ crochet for card making. If you make this card, be sure to tag me on Instagram @inthewooluk as I’d love to see it!