
The Perfect Pumpkin
Join me on my quest for the perfect pumpkin!

As the nights get darker and the leaves begin to fall, there’s nothing better for getting in the autumn spirit than crocheting some pumpkins. I’ve seen so many beautiful handmade pumpkins on Instagram that I thought I’d give this trend a try for myself - and share my thoughts with our subscribers along the way!
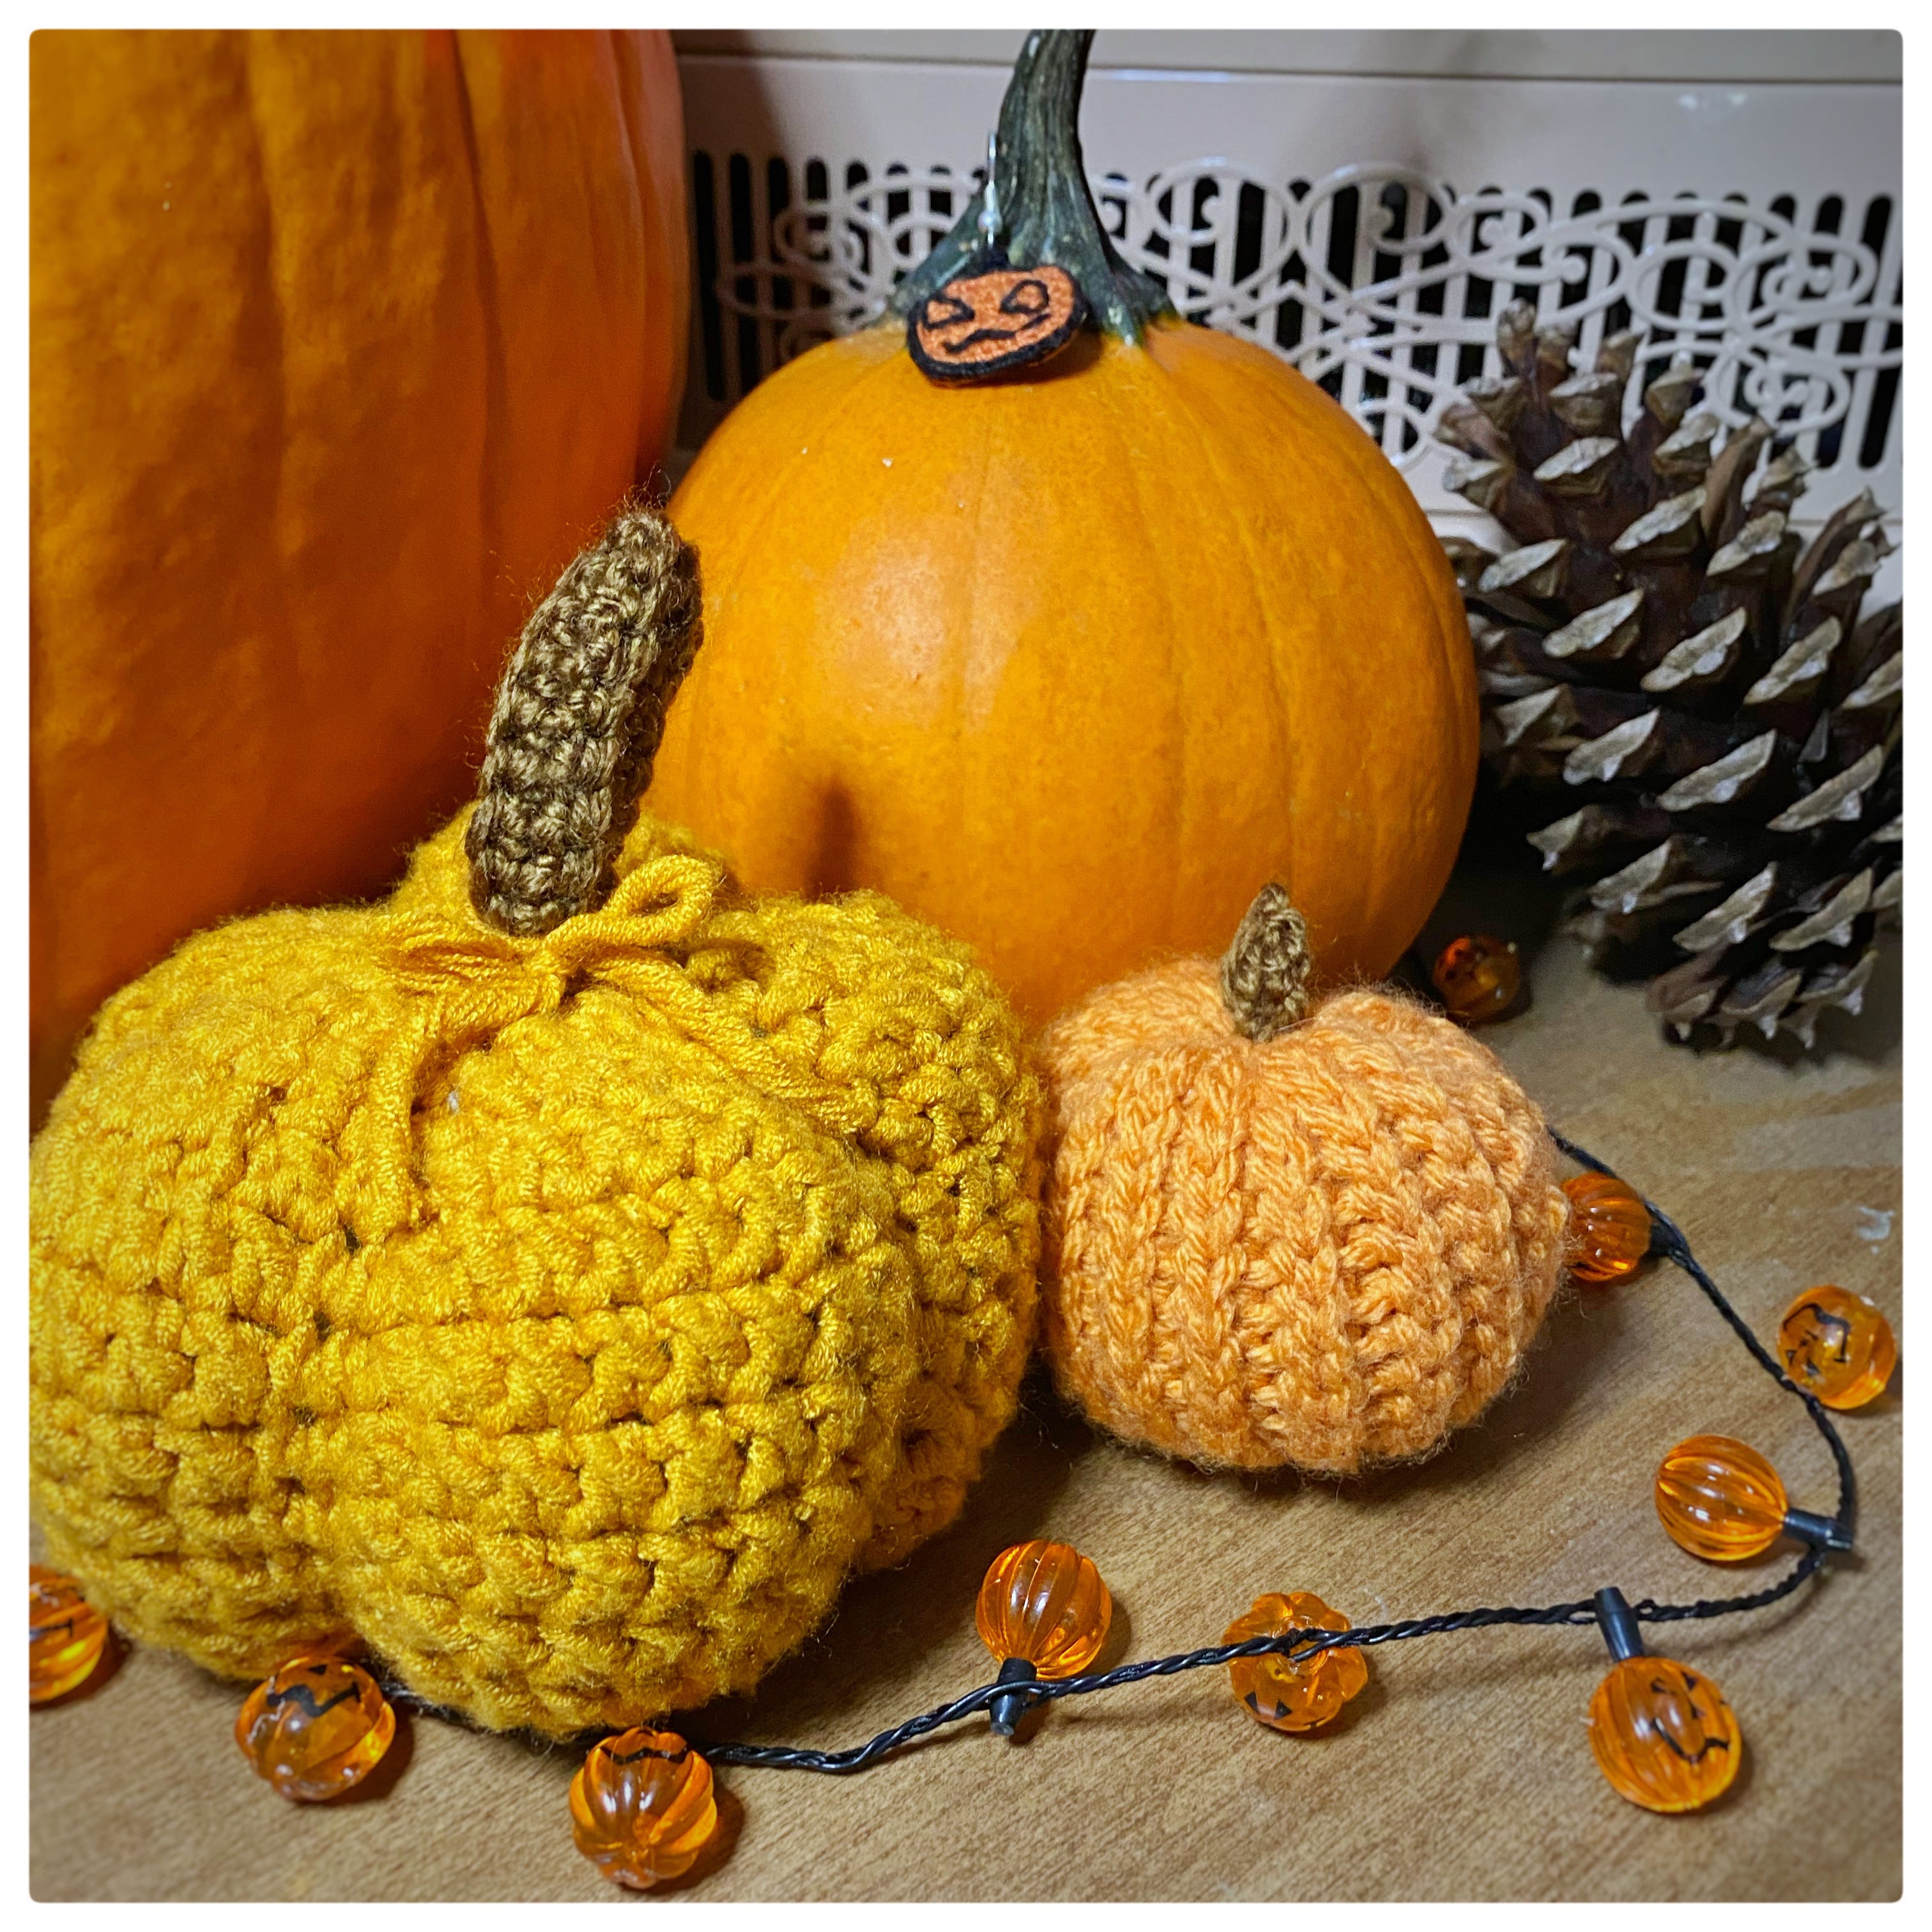
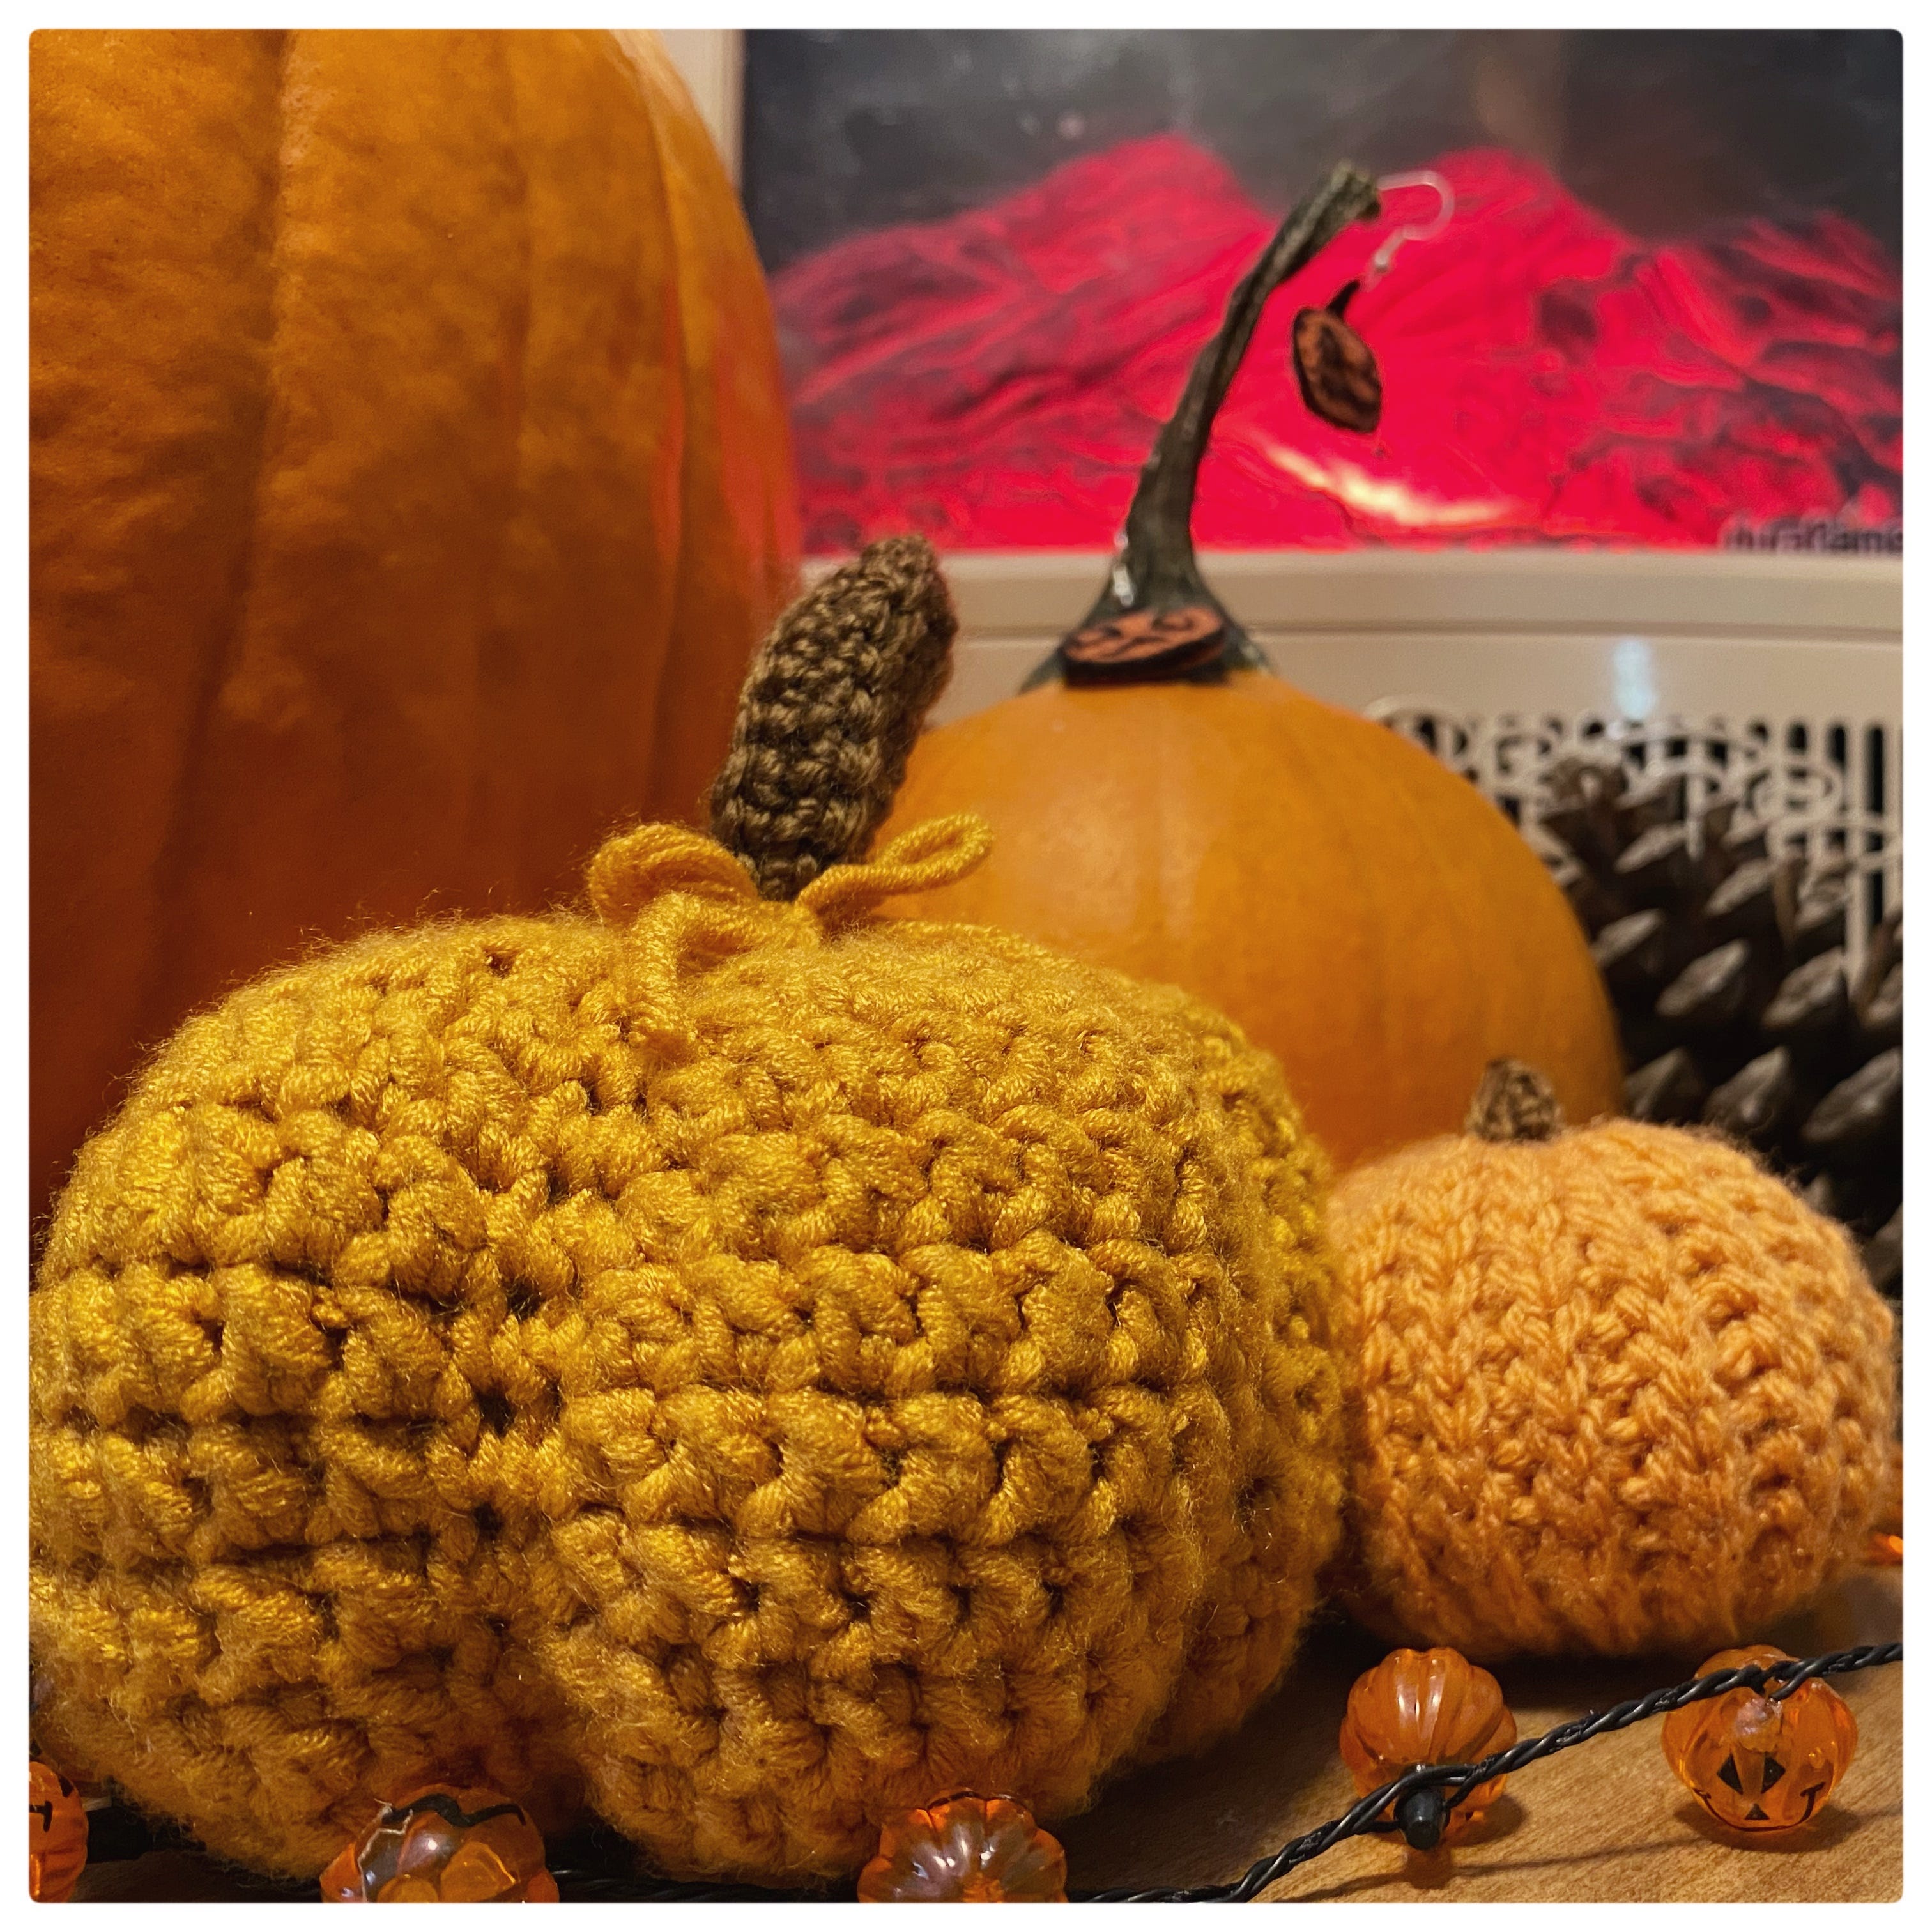
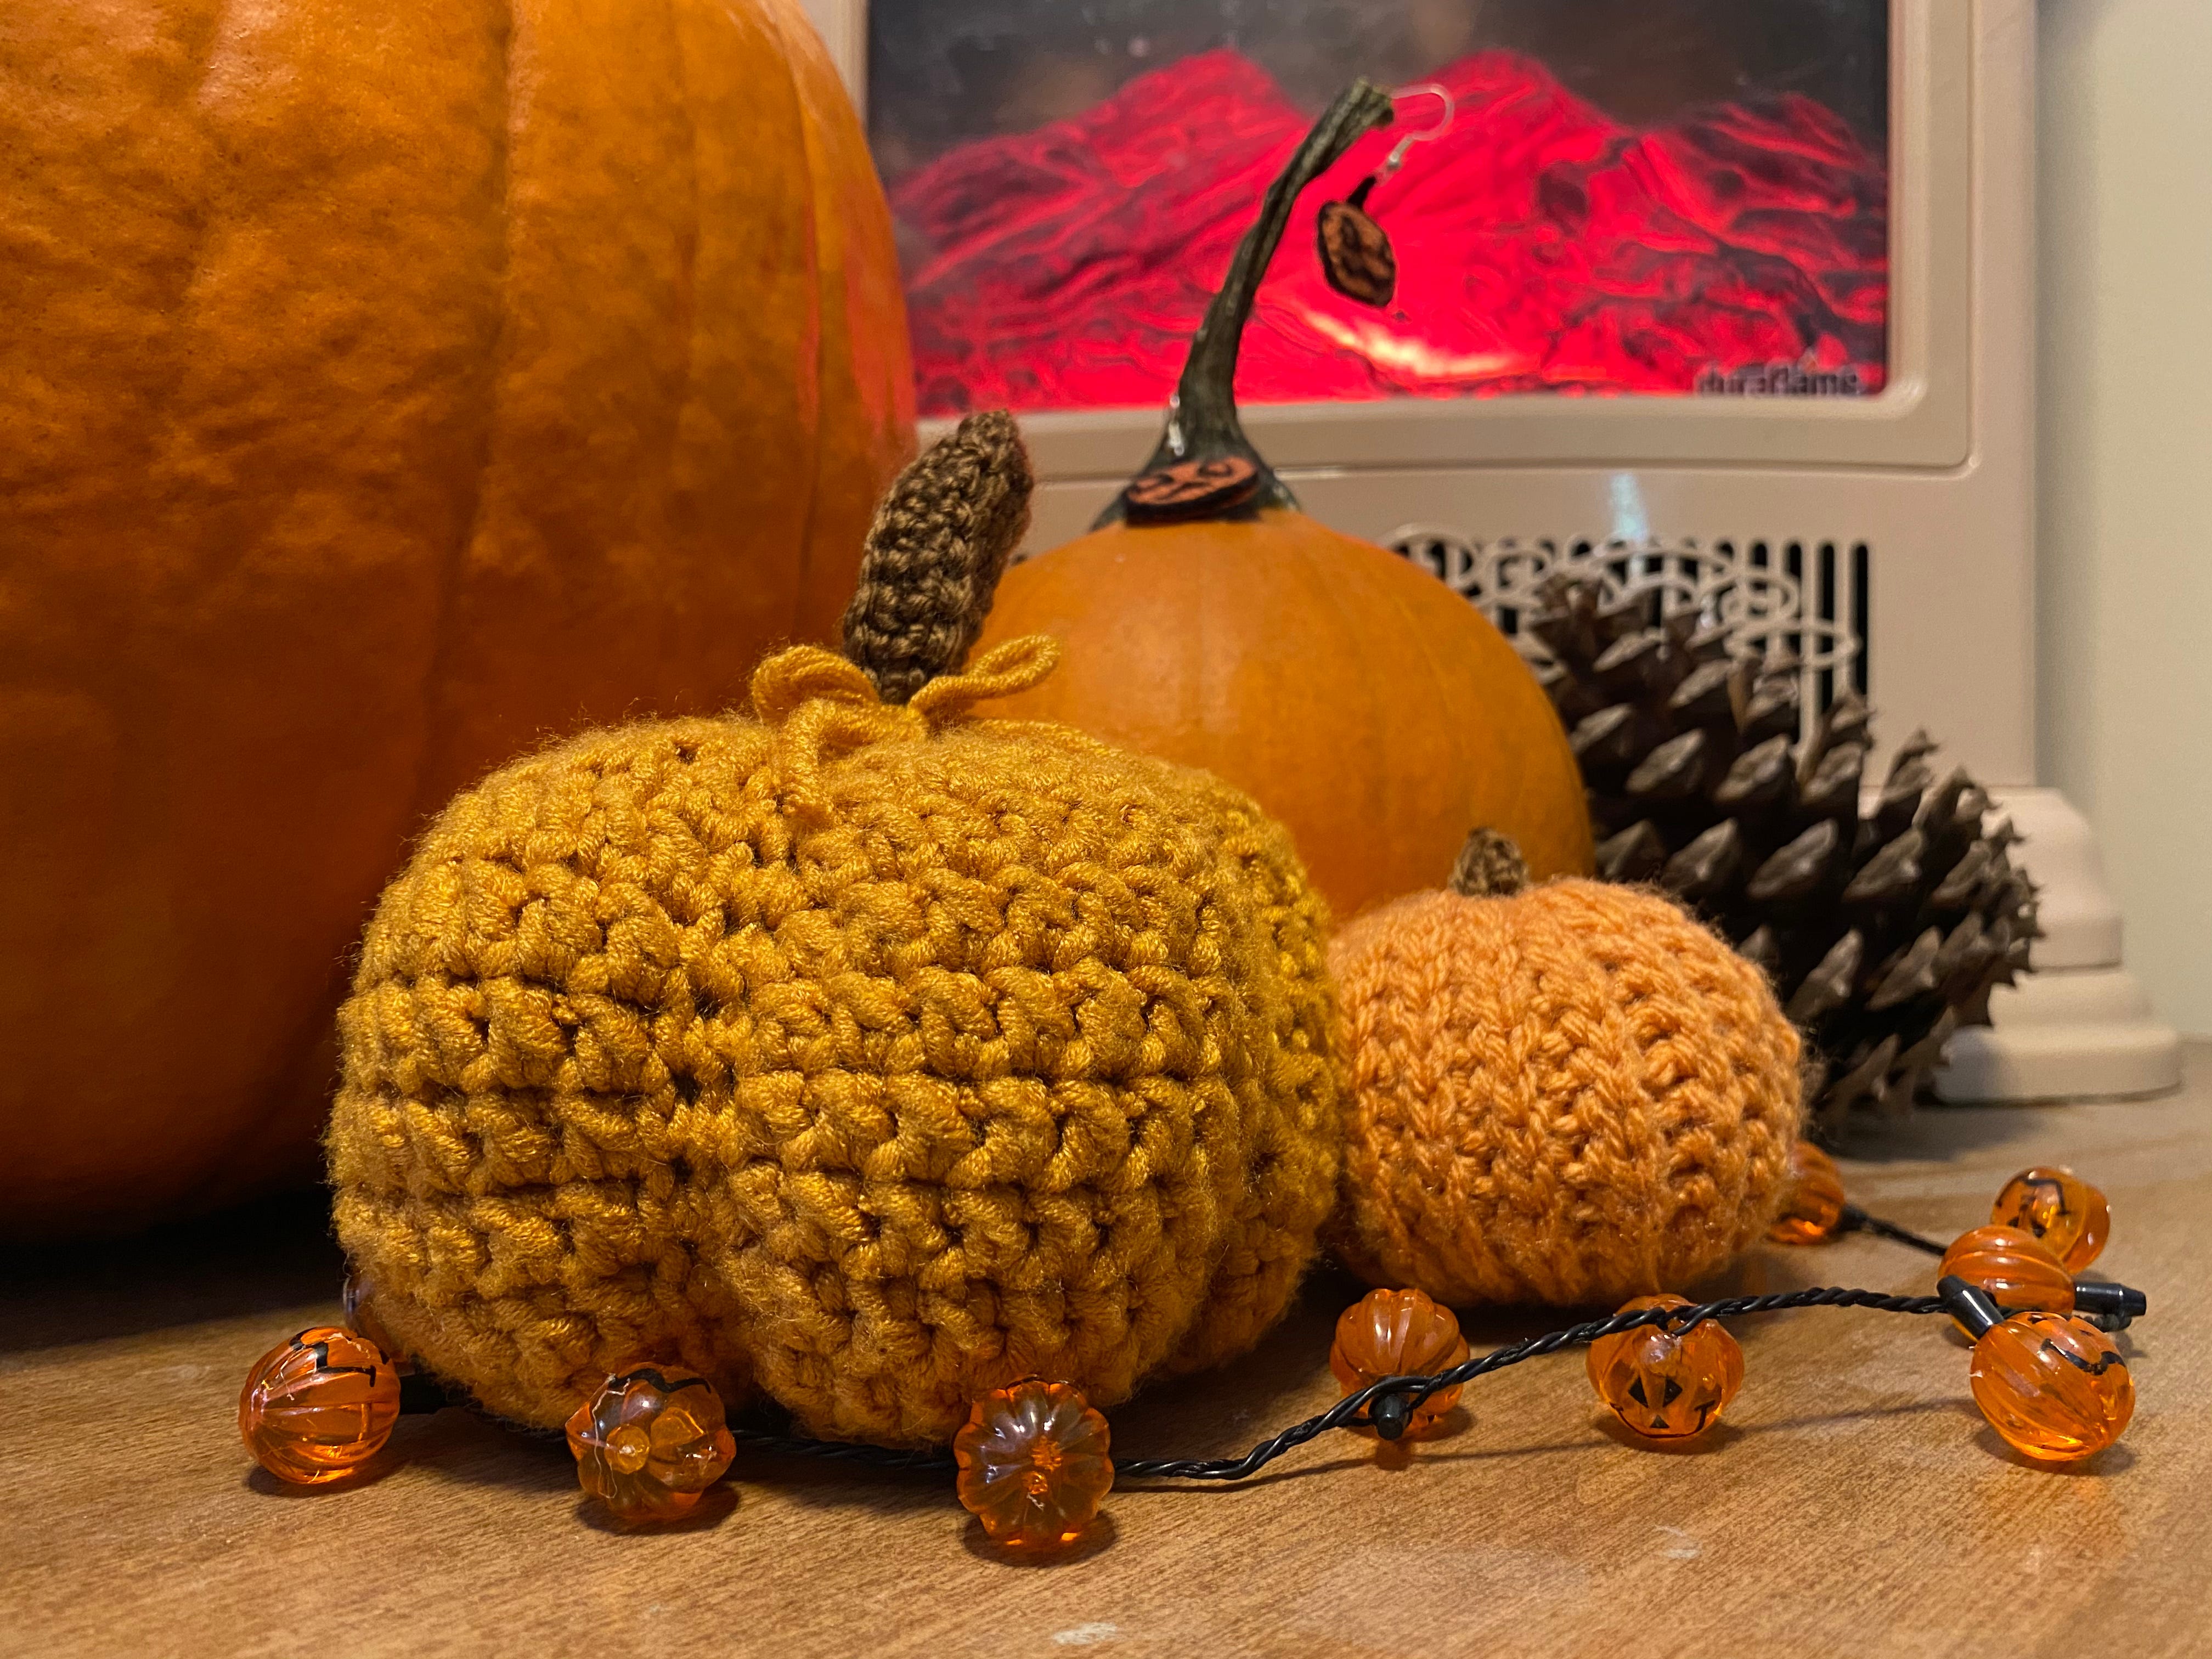
As with many of my creative endeavours, I headed straight to Pinterest (also known as the fountain of free patterns). I tried out two different free pumpkin patterns, both using a different style and shape. The smaller orange pumpkin was made as a strip that was joined into a tube and sewn tight into a pumpkin shape, made with slip stitches in the back loops only. The larger yellow one was made in the round, and used a wider variety of stitches to create a more detailed pumpkin shape. Looking at the two, it’s hard to pick a favourite as they have such different end results. Let’s take a closer look at these pumpkins!
At first, I was quite sceptical of the smaller slip stitch pumpkin pattern. When I realised it was to be made into a tube I couldn’t visualise it having the correct shape in the end. As long tails of yarn are used to gather the piece at the top and bottom, it sucks in the end of the tube to make the piece more round. It was as I was stitching up and down through the piece to perfect the shape that I really started to enjoy the pattern. By creating a basic tube piece and stitching top to bottom, I was able to control the shape and give it an authentic, uneven look as each stitch was in a different place and it was not symmetrical. A charming quality of this pumpkin is that it is designed to look as though it is knitted- an inside trick or treat for crocheters!
I felt more comfortable with the larger pumpkin pattern; there’s something soothing about working in the round. This pumpkin did require a little more attention as the shape relies heavily on the stitches creating the design, unlike the smaller pumpkin.

Overall, I think I do prefer the yellow pumpkin as having a more defined shape makes it instantly identifiable and makes it stand out more. However, when it came to the stalk I much preferred the style of the slip stitch pumpkin instructions: simple! To finish off the bigger pumpkins, I used a scrap of yarn leftover after sewing up to tie a small bow around the stem.
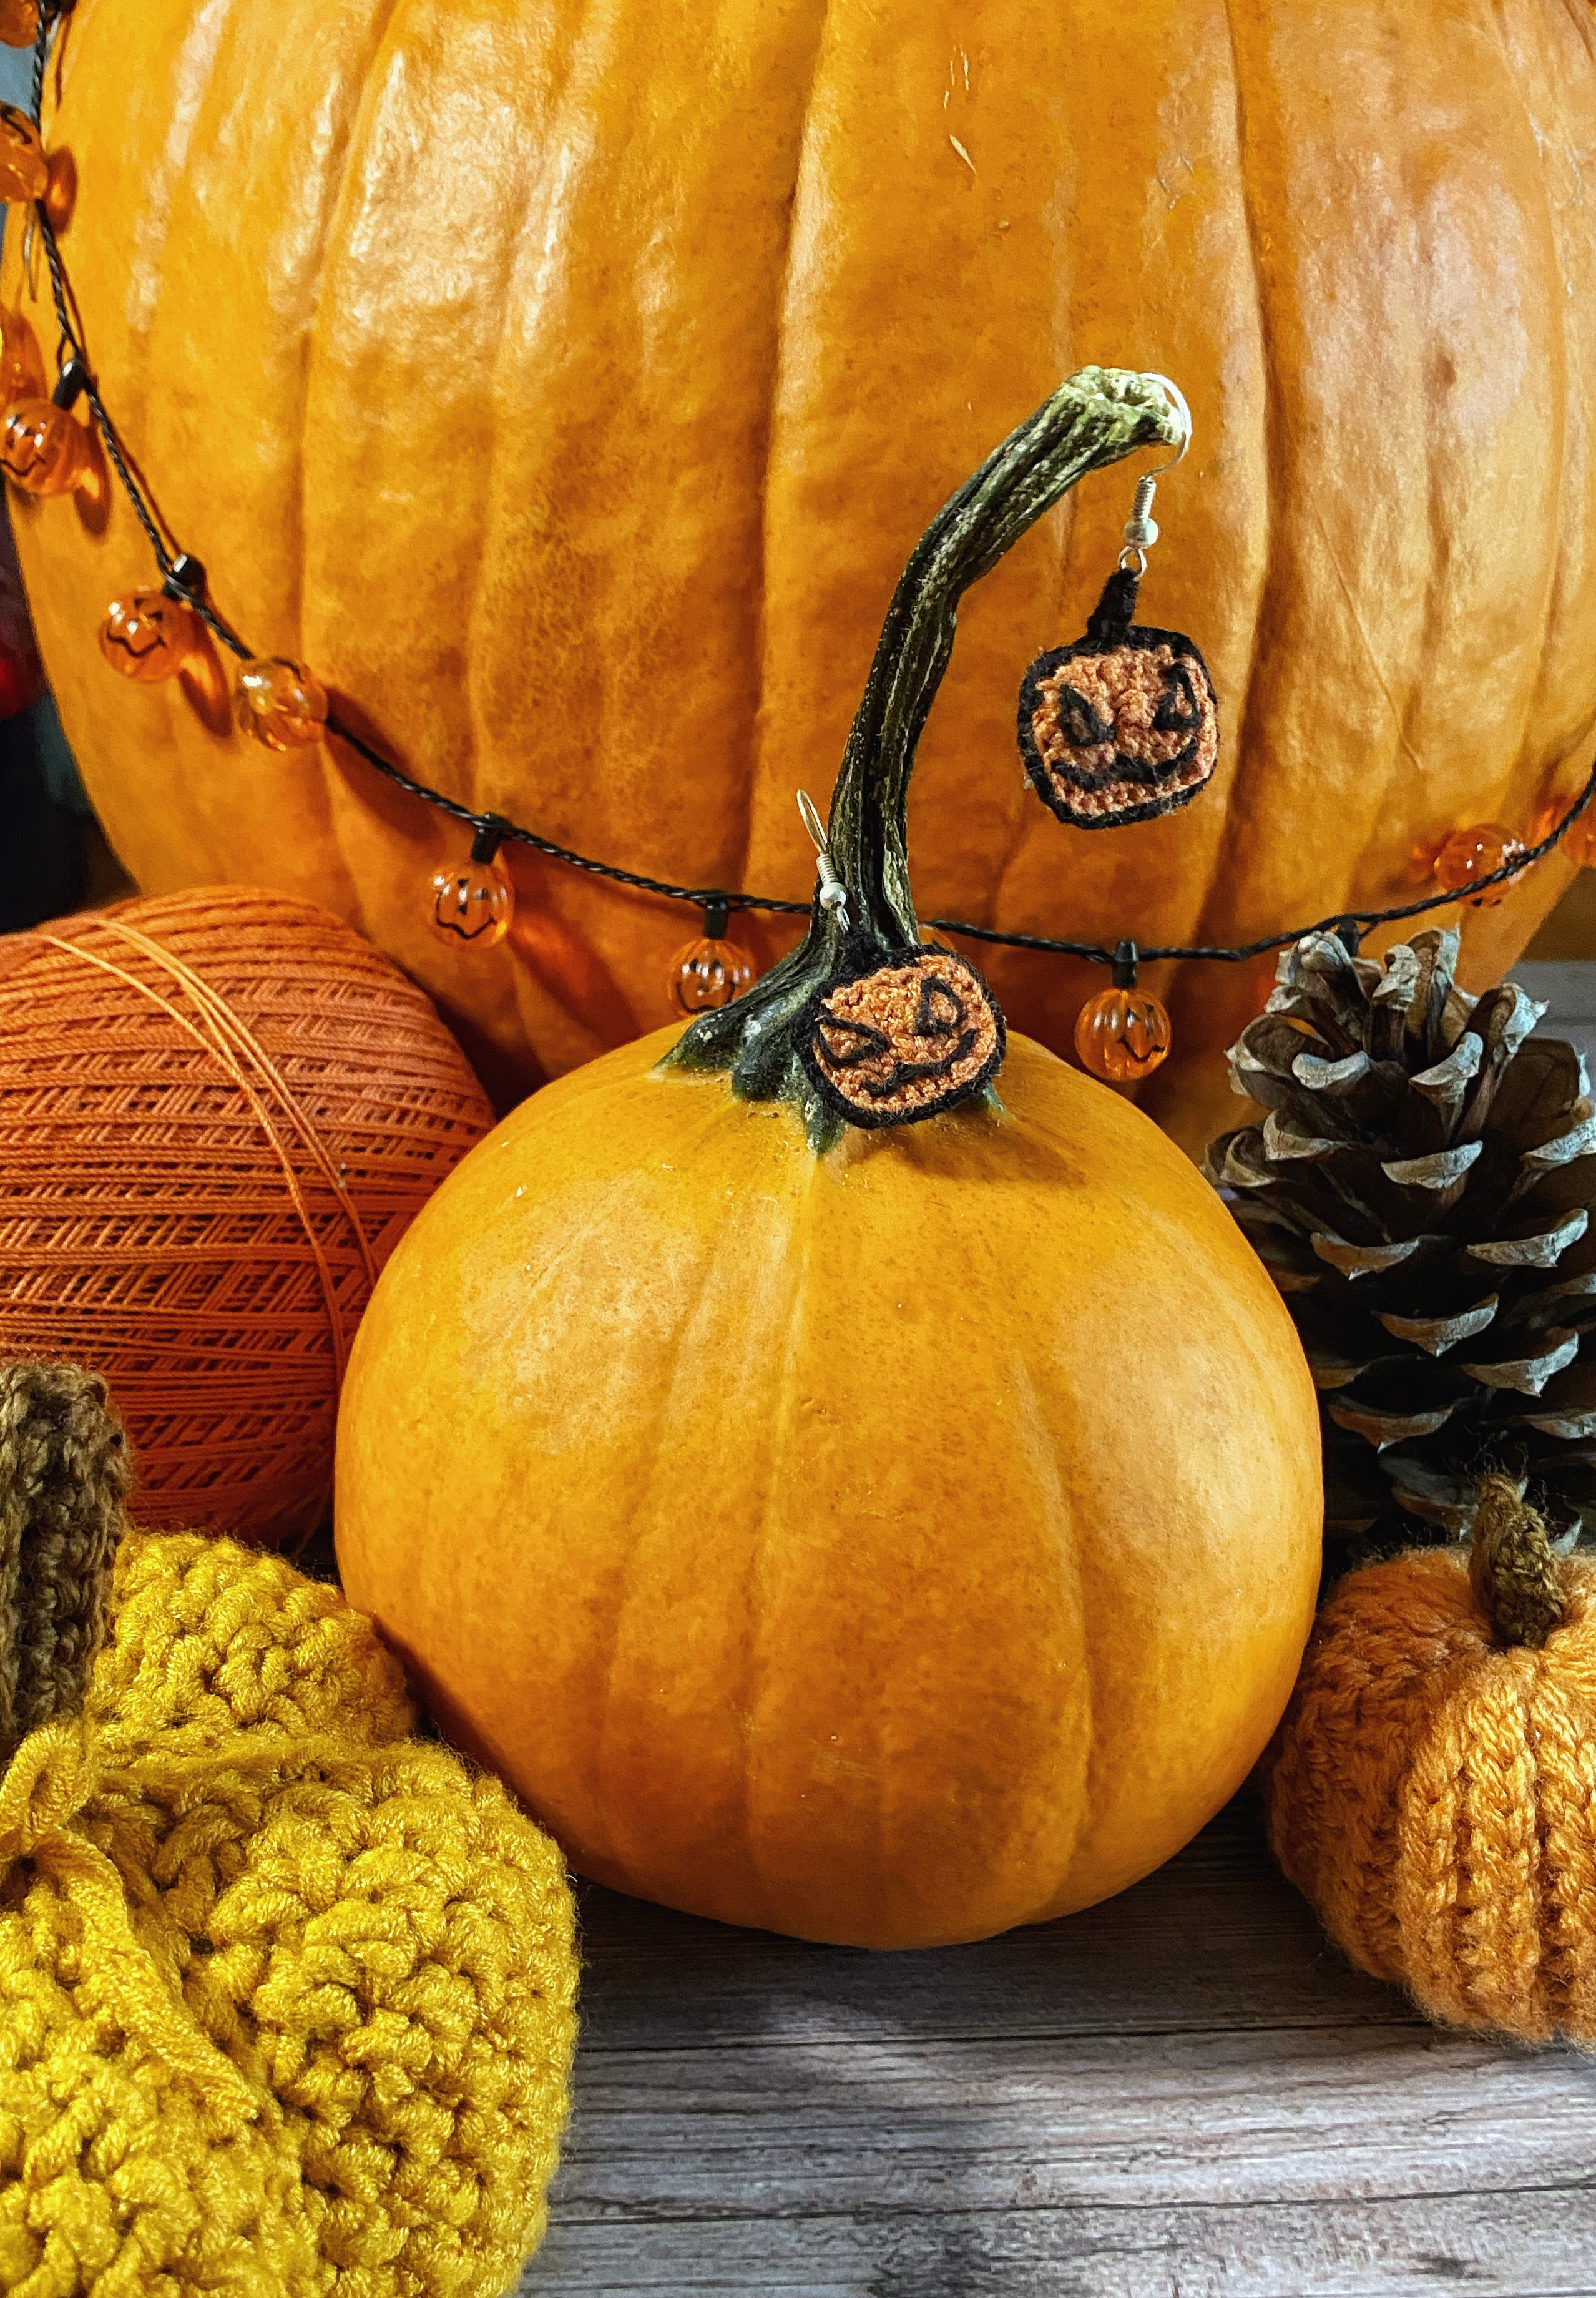
I think the best part about handmade pumpkins is that they often come in patches! These items look beautiful when clustered together in groups, especially with other autumnal decorations such as leaves, pinecones and twigs. It’s a great opportunity to get creative with your arrangement and photography. I opted for a portable fireplace, pinecone, and a mix of real and handmade pumpkins. I ended up loving the display so much that I’ve left it out in the living room for a bit of that festive feel!
To try these pumpkins for yourself, click the links below.
Slip Stitch/Smaller Orange Pumpkin
Detailed/Larger Yellow Pumpkin
The pumpkin earrings featured are from The Halloween Collection, my first original pattern release which contains 4 spooky patterns for crochet earrings. The pattern download is available here! Use code SPOOKY at checkout for 25% off.
Did you like this article?🎃