3 Things: Tips for Handmade Pumpkins
Finishing touches for autumn decorations!
It’s that time of year when the crafting world goes pumpkin crazy - and I’m here for it! I love seeing the knit and crochet pumpkins that other makers create, and how they incorporate these lovely decorations into their homes for an autumnal atmosphere. I’ve already made some pumpkins this month after having a good rummage through my yarn stash and finding some great seasonal shades. As I was crocheting, I started thinking about the different ways you can jazz up a pumpkin, whether that be with yarn choices or added details. Here are my top 3 tips for elevating your handmade pumpkins and helping your decorations stand out!
1. Change Up Your Stems
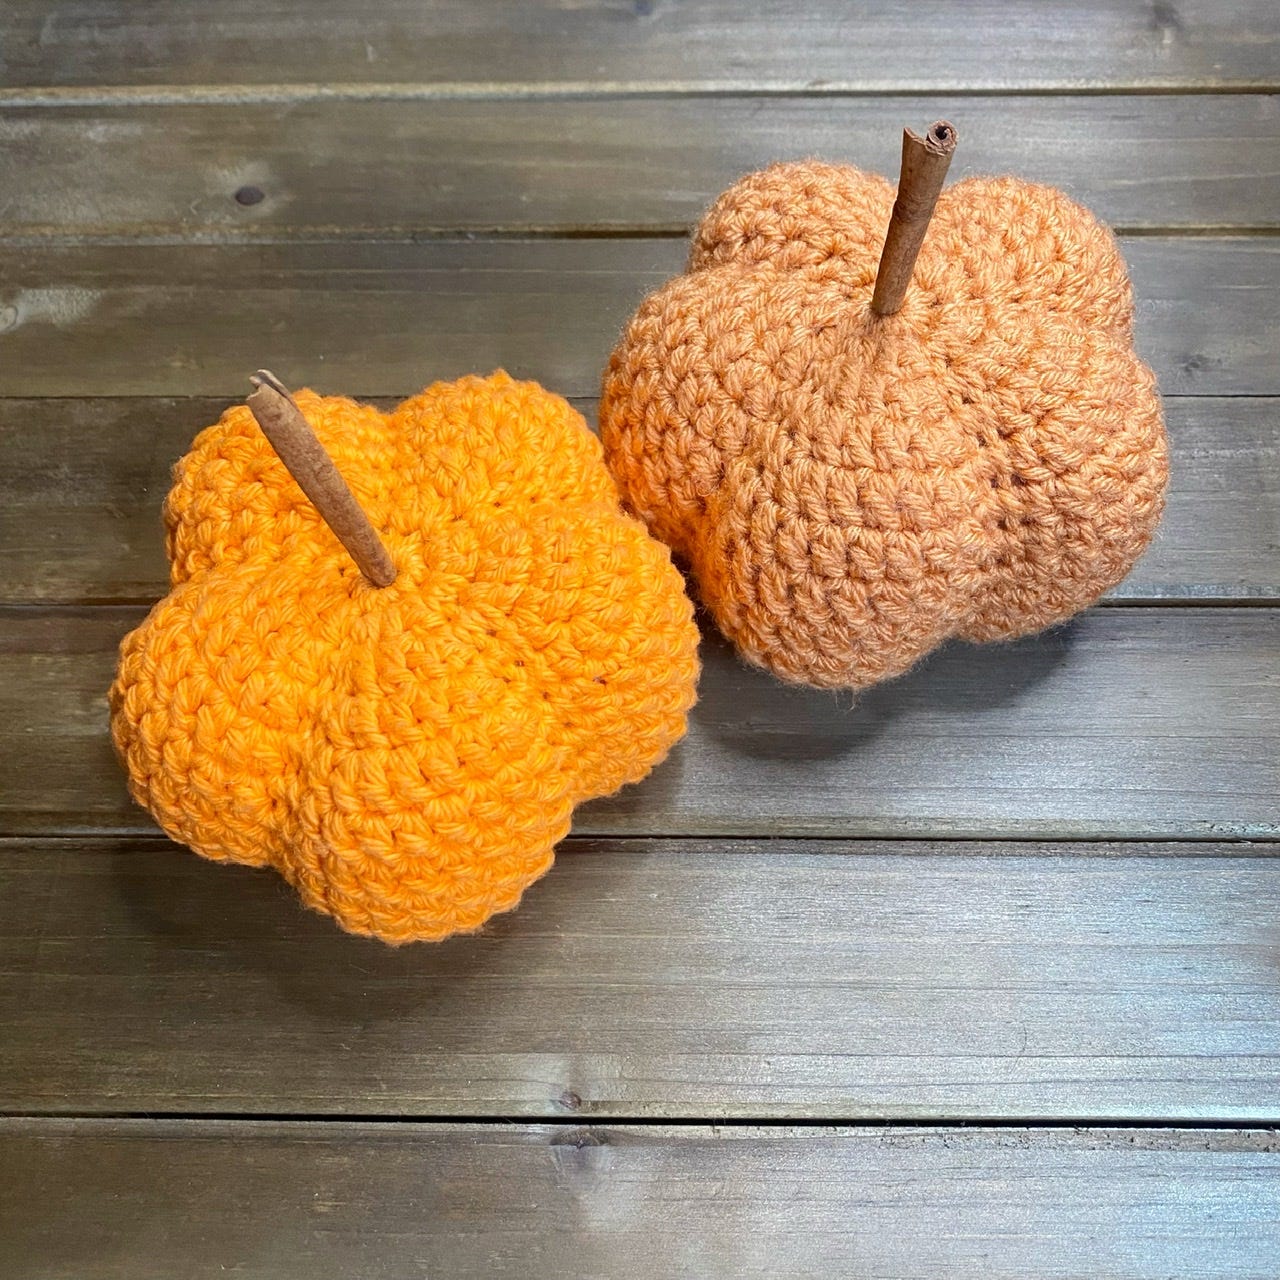
While most knitting and crochet patterns for pumpkins will include instructions for a handmade stem, there are plenty of ways you can play with the stem and add some more interesting details. My favourite way to create stems is by adding a cinnamon stick. The stick can slide in easily through the top of the pumpkin; it takes about 5 seconds, it looks great, and it smells seasonal! You can also try this method with small sticks from your garden. Using a twig as a pumpkin stem brings a realistic element into your handmade project and achieves an autumnal vibe. Twigs are also a great idea if you’re making Halloween decorations as they can help your pumpkin look spookier!
Another way to jazz up your handmade pumpkins is by adding smaller, decorative details. They can be simple yet really effective. Here is a pumpkin I made last year; I used a piece of scrap yarn that was cut off after sewing up to tie a small bow around the stem. It matches the colour of the pumpkin’s main body and is a nice addition to make the pumpkin more decorative.
I have also seen pumpkins with lovely twirly pieces attached at the stem, kind of like curling ribbons from wrapping presents but made out of yarn. It’s really easy to crochet pieces like this. Simply make a string of chain to your desired length and then do one row of double crochet (UK terms); the piece will have a natural curl to it and will look great on your pumpkin. If you want a piece that’s even curlier, there are lots of free patterns out there. Here are some curly crochet samples by One Dog Woof to get you started - click here! You could also knit or crochet small leaves to add an extra touch of autumn.
2. Creative Colour Choices
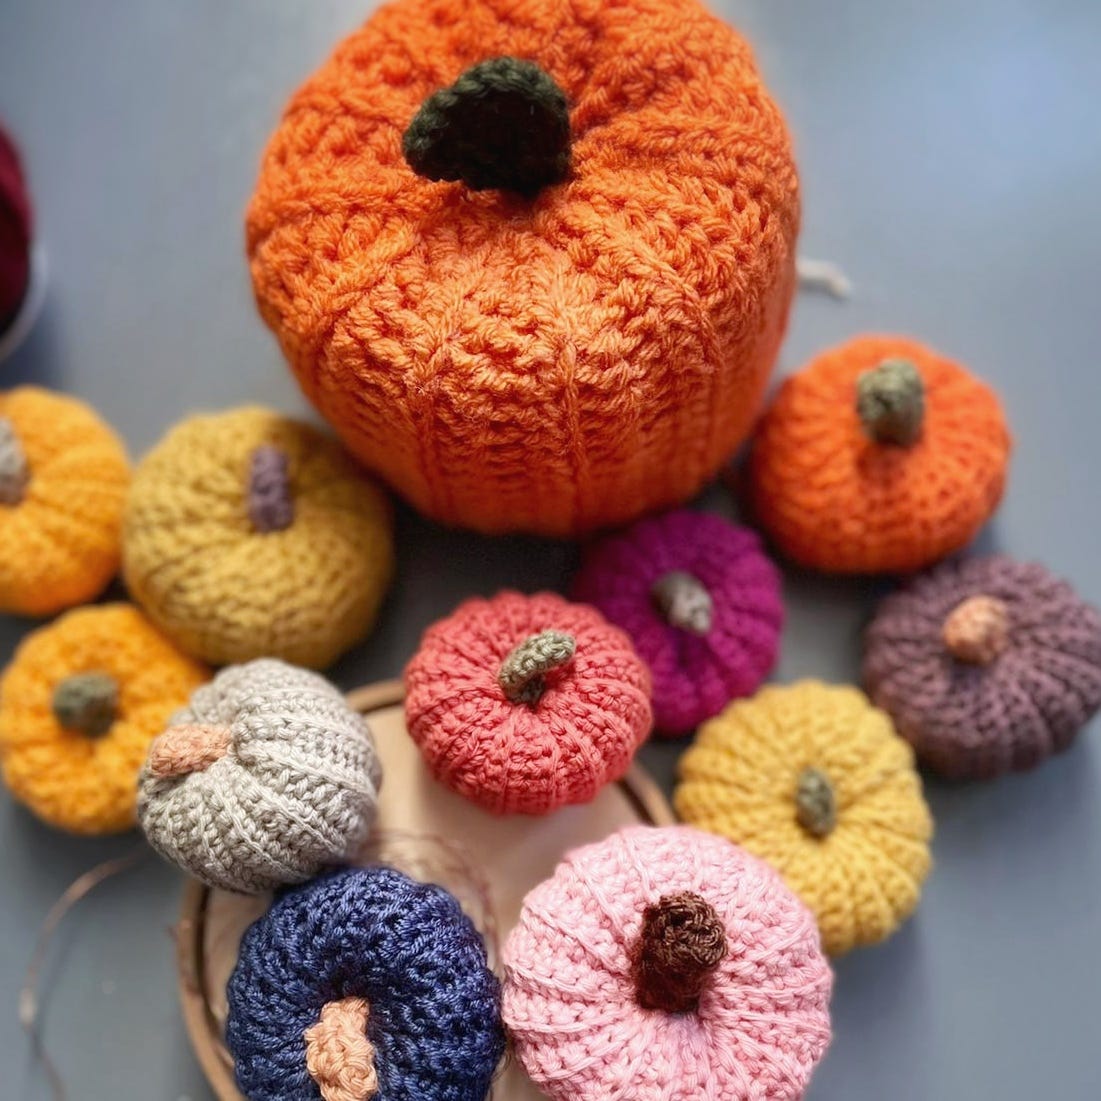
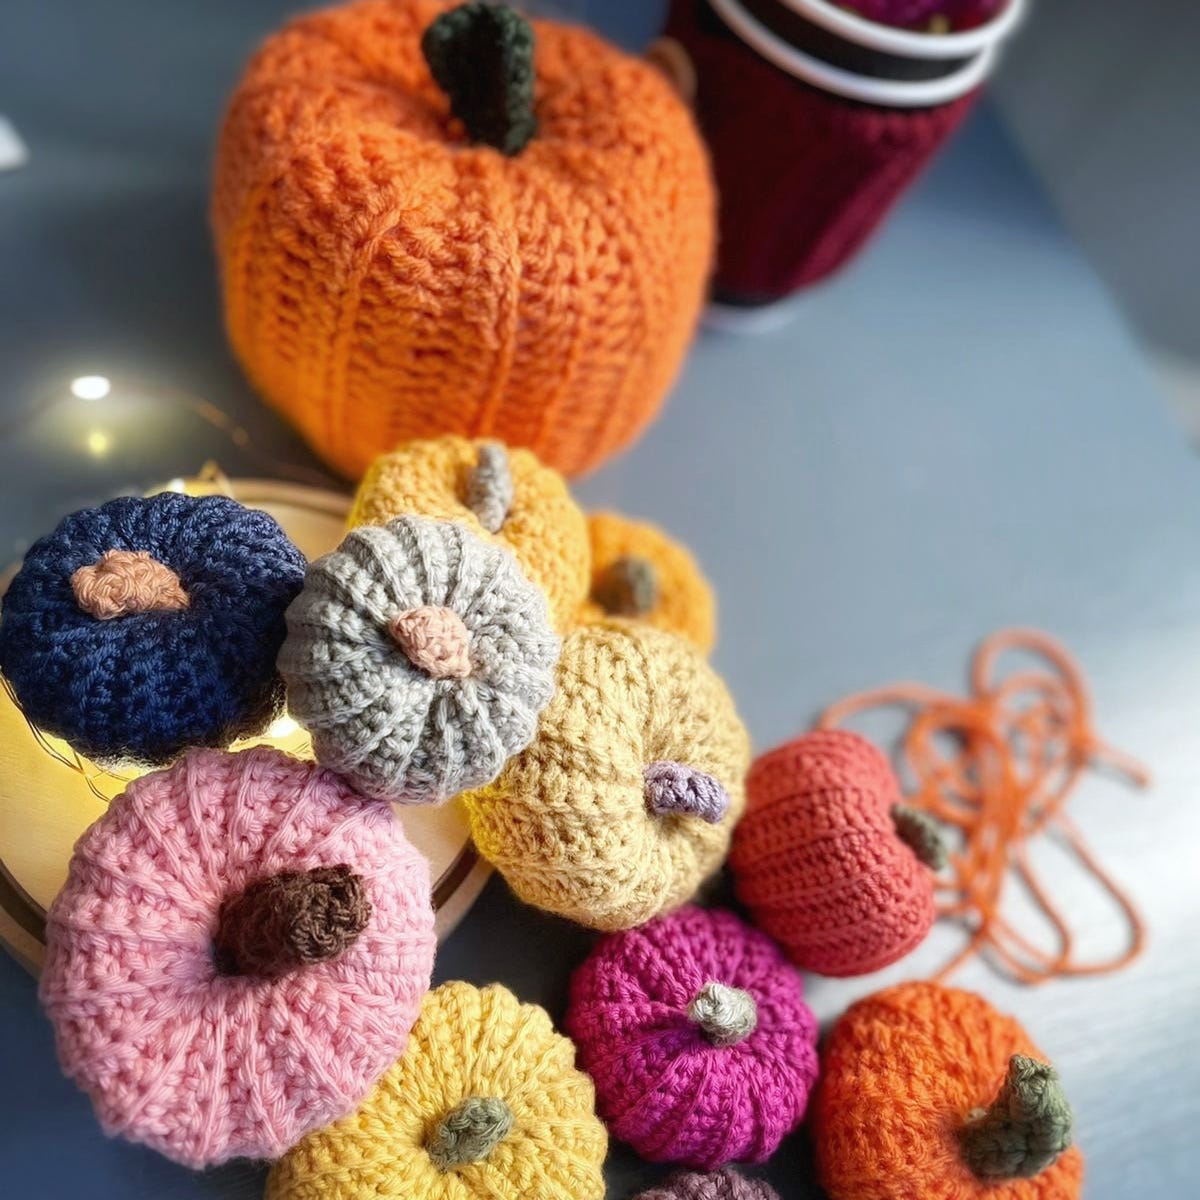
I love a selection of pumpkins that work together by following a colour scheme. You can easily create an autumnal atmosphere with rustic oranges and gorgeous golds. But don’t feel that you have to limit yourself to traditional colours; pumpkins made with bright colours and multicoloured yarns look fantastic too. The good thing about handmade pumpkins is that no matter what yarn you use to make them, the shape is universally recognised, so you can keep the same shape and then do whatever you want otherwise. Whether you’re opting for classic colours, beautiful brights, or marvellous multicolours, I would recommend picking out a few different shades that work together before you start so that your decorations have an overall colour scheme for you to work from.
For some truly creative pumpkin inspiration, I would recommend checking out @customercrochetbymegan on Instagram (click here). Megan has made tonnes of pumpkins in all different colours and styles, some are even Disney themed! I recently did a ‘Maker Spotlight’ article about Custom Crochet by Megan which you can read by clicking here.
3. Make an Ensemble
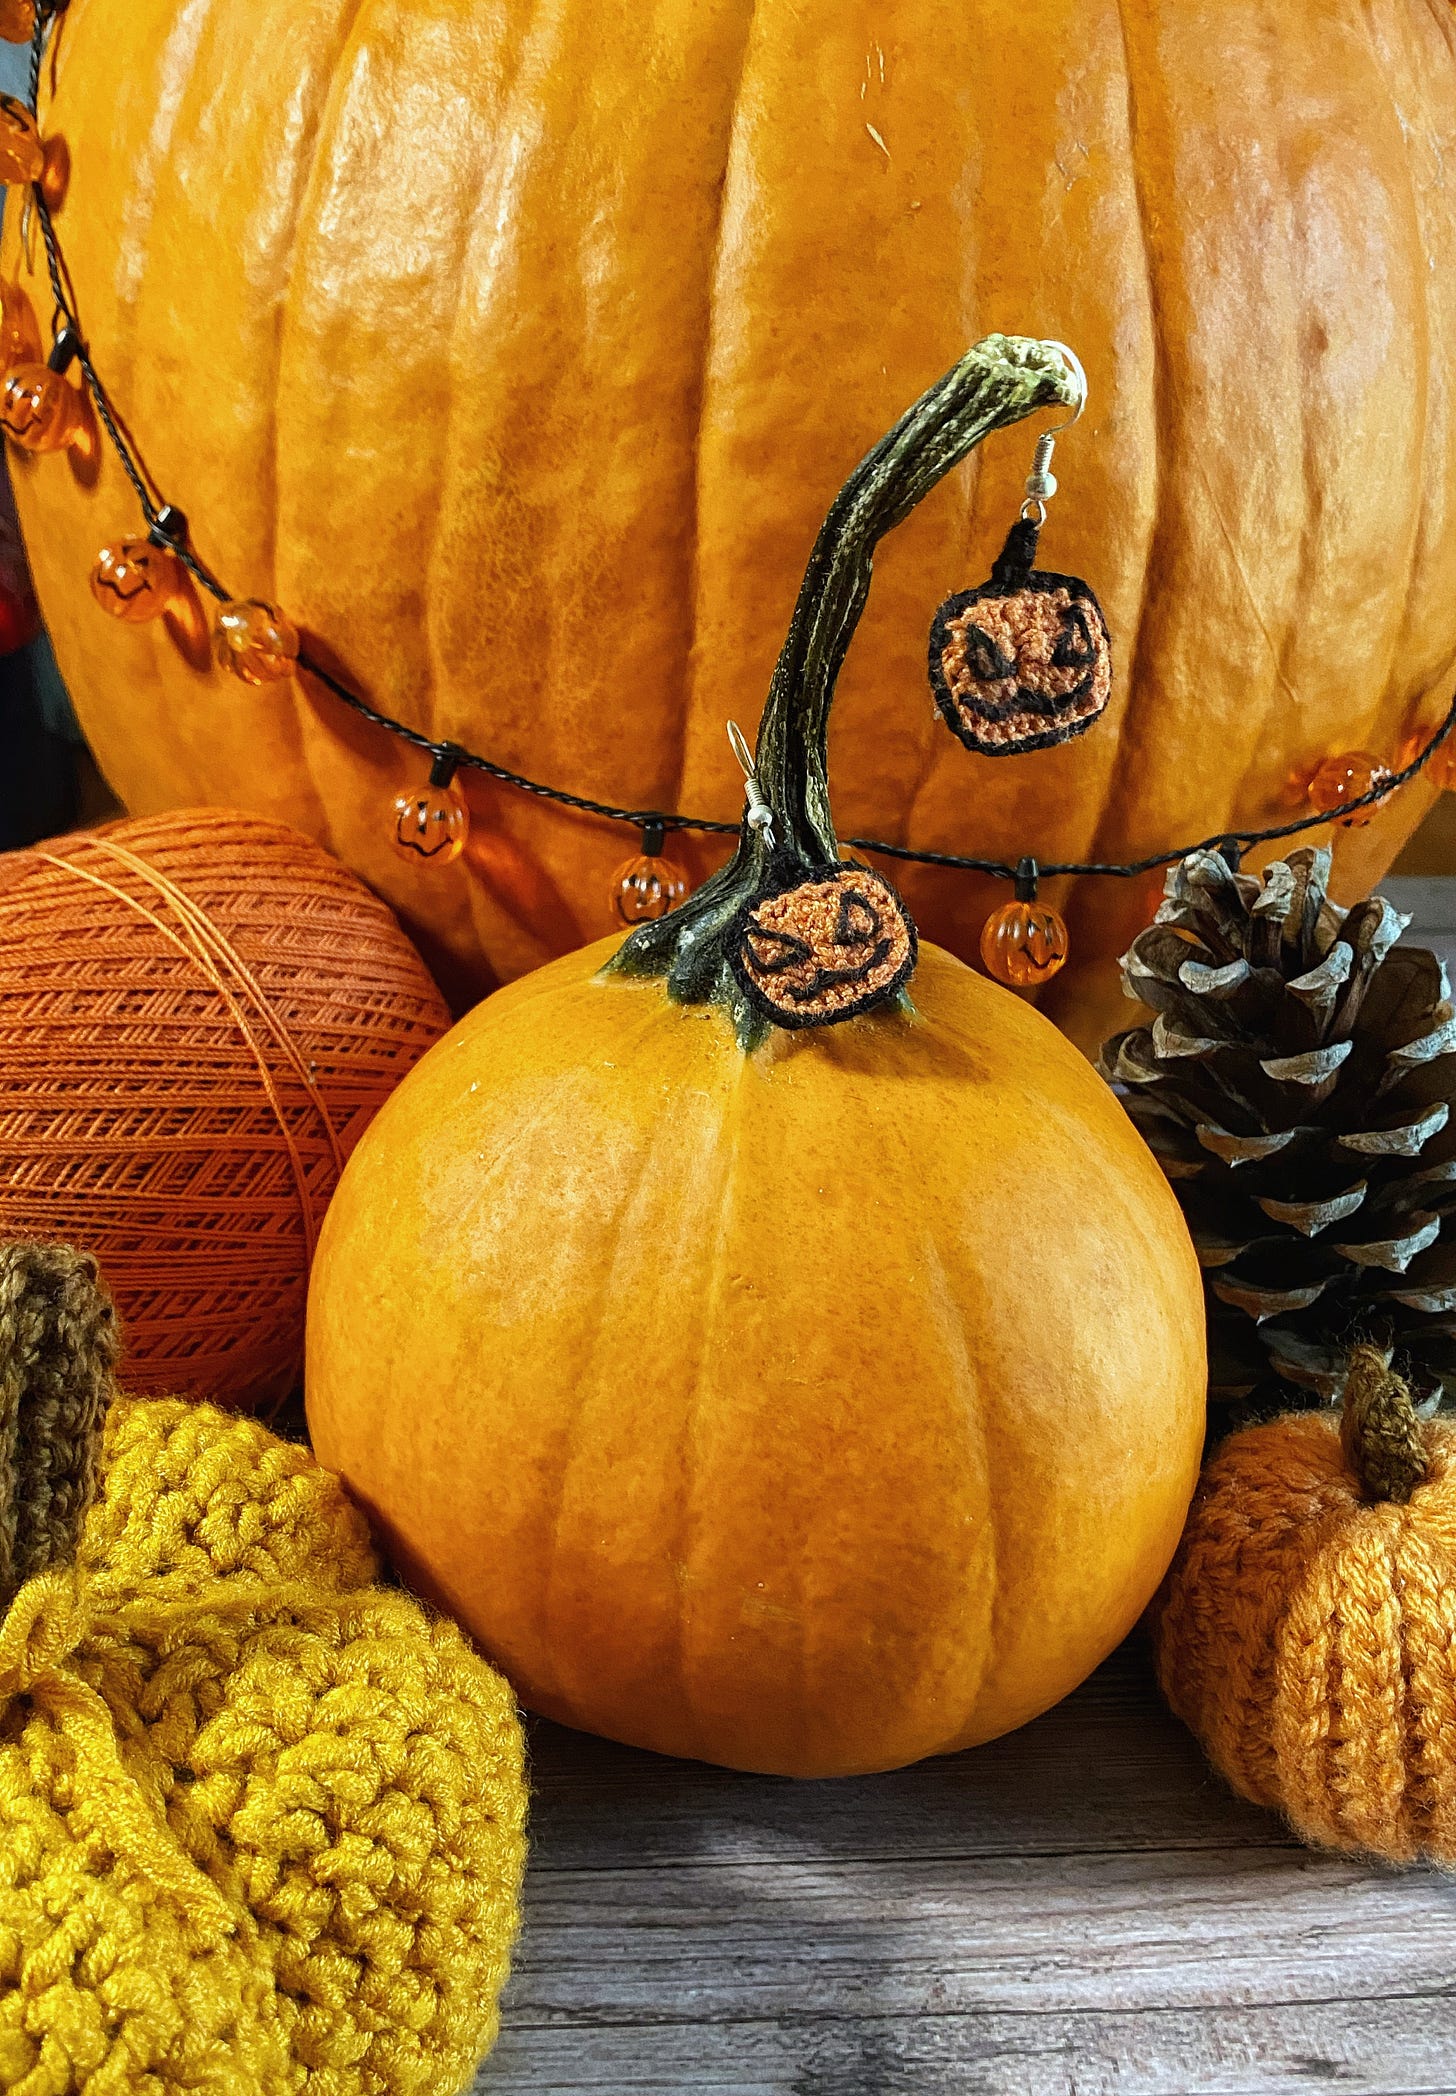
I think the best way to make the most of handmade pumpkins is to use them as part of an autumnal scene. Make a few pumpkins of different colours, patterns and sizes, and surround them with seasonal decorations. You could find pine cones and twigs from the garden, add a couple of candles for a cosy feel. Most garden centres, supermarkets or department stores have little ornaments and decorations that you could add to really bring your ensemble to life.
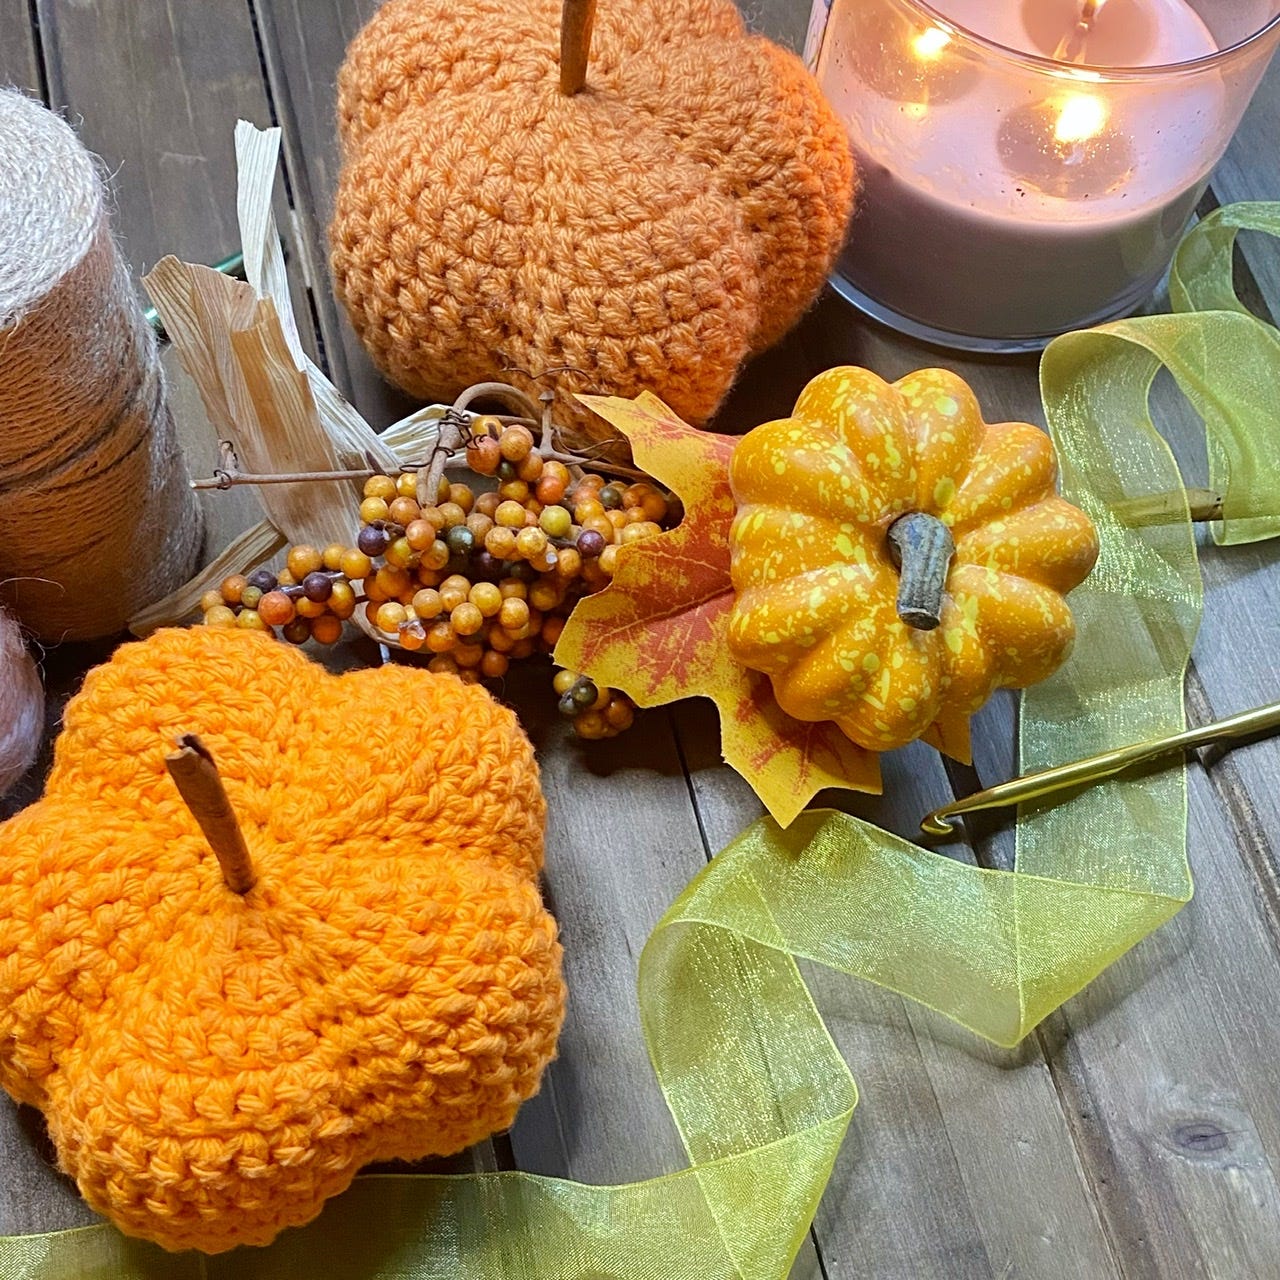
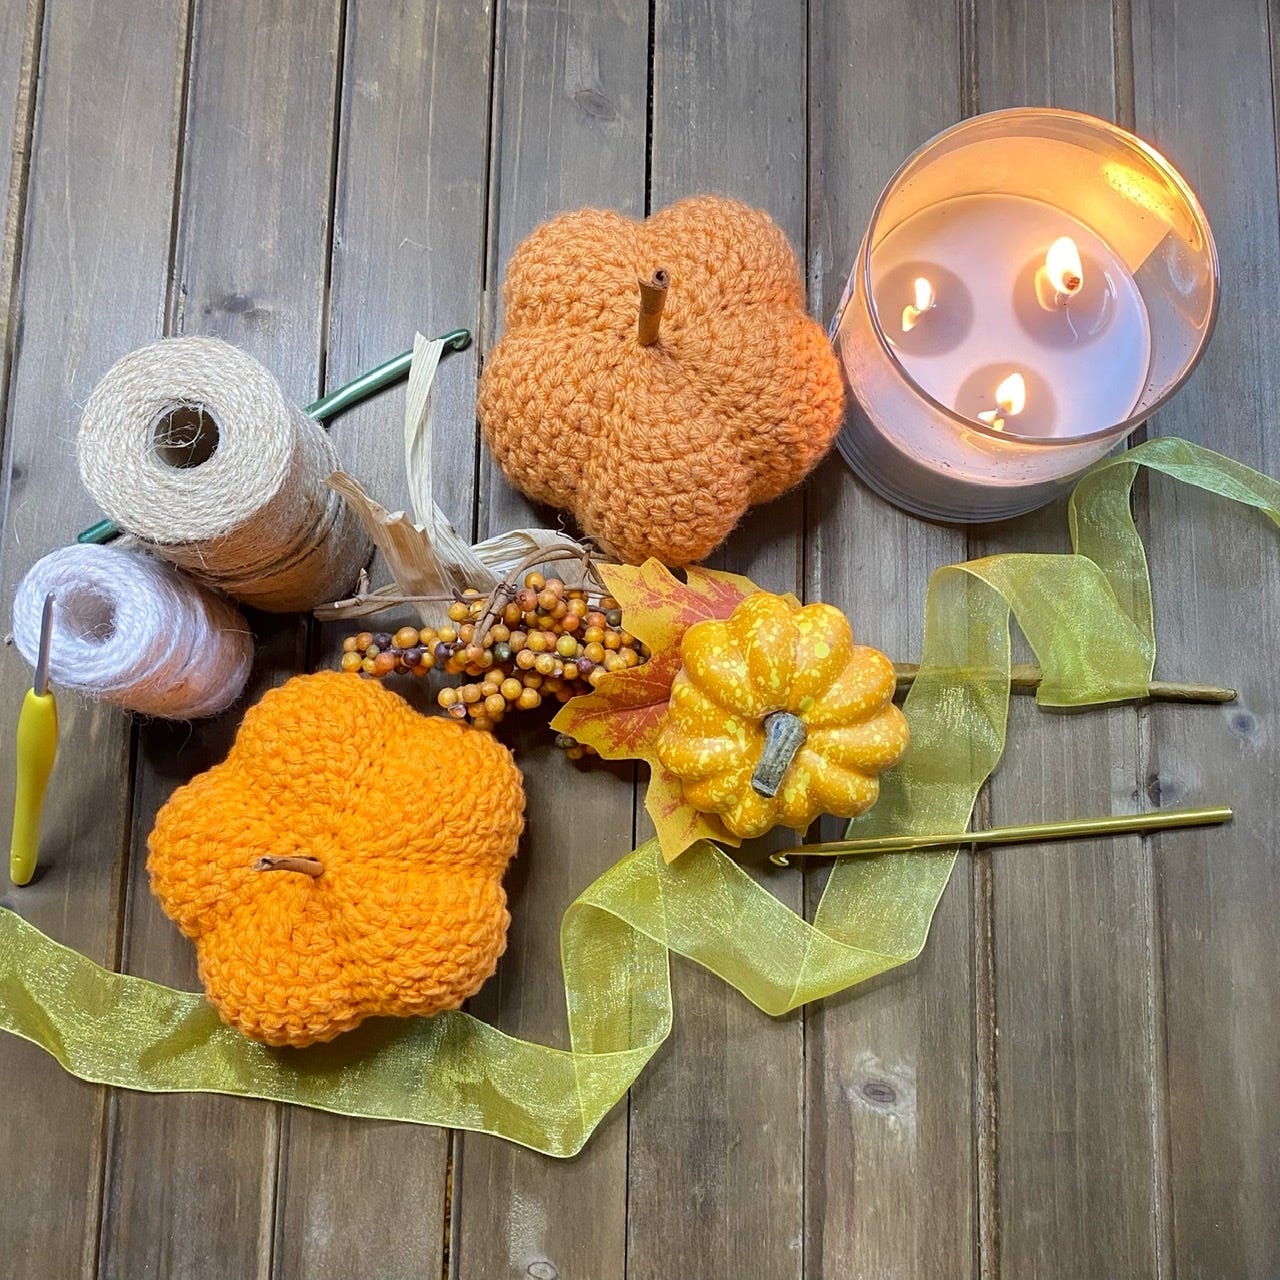
Pictured above is a pumpkin scene I created this week that I’m going to put on the fireplace in my living room. I crocheted two pumpkins and used cinnamon sticks as stems, then built up the scene around them using various bits I found around my house. I had a yellow ribbon from a bouquet of flowers, a roll of jute thread, a couple of candles, and a small autumn decoration (this was really cheap from a garden centre a few years ago). To make it look a little craftier, I rummaged through my jar of crochet hooks and found a yellow one and a gold one that matched the rest of the scene. Voila!
A couple of years ago, when I was making my first ever crochet pumpkins, I wrote an article about this experience and compared two different free crochet patterns that I found on Pinterest. For more insights into making your own pumpkins, CLICK HERE to read my previous article titled The Perfect Pumpkin!


